Hull Pictures
(click on any picture to enlarge it)|
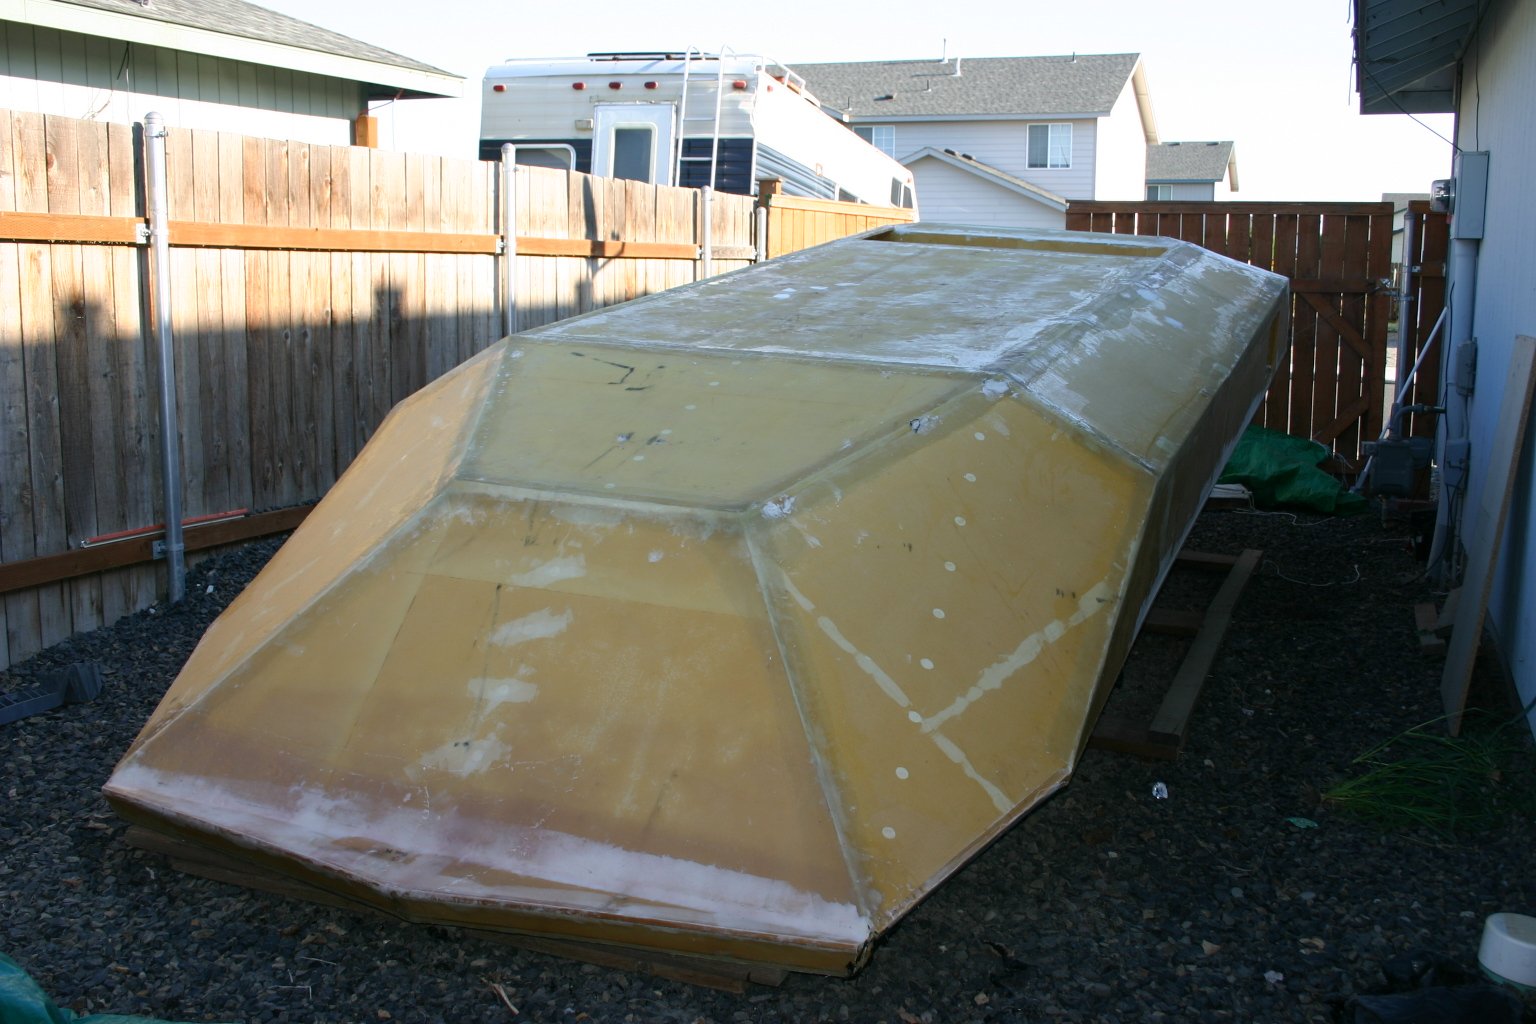
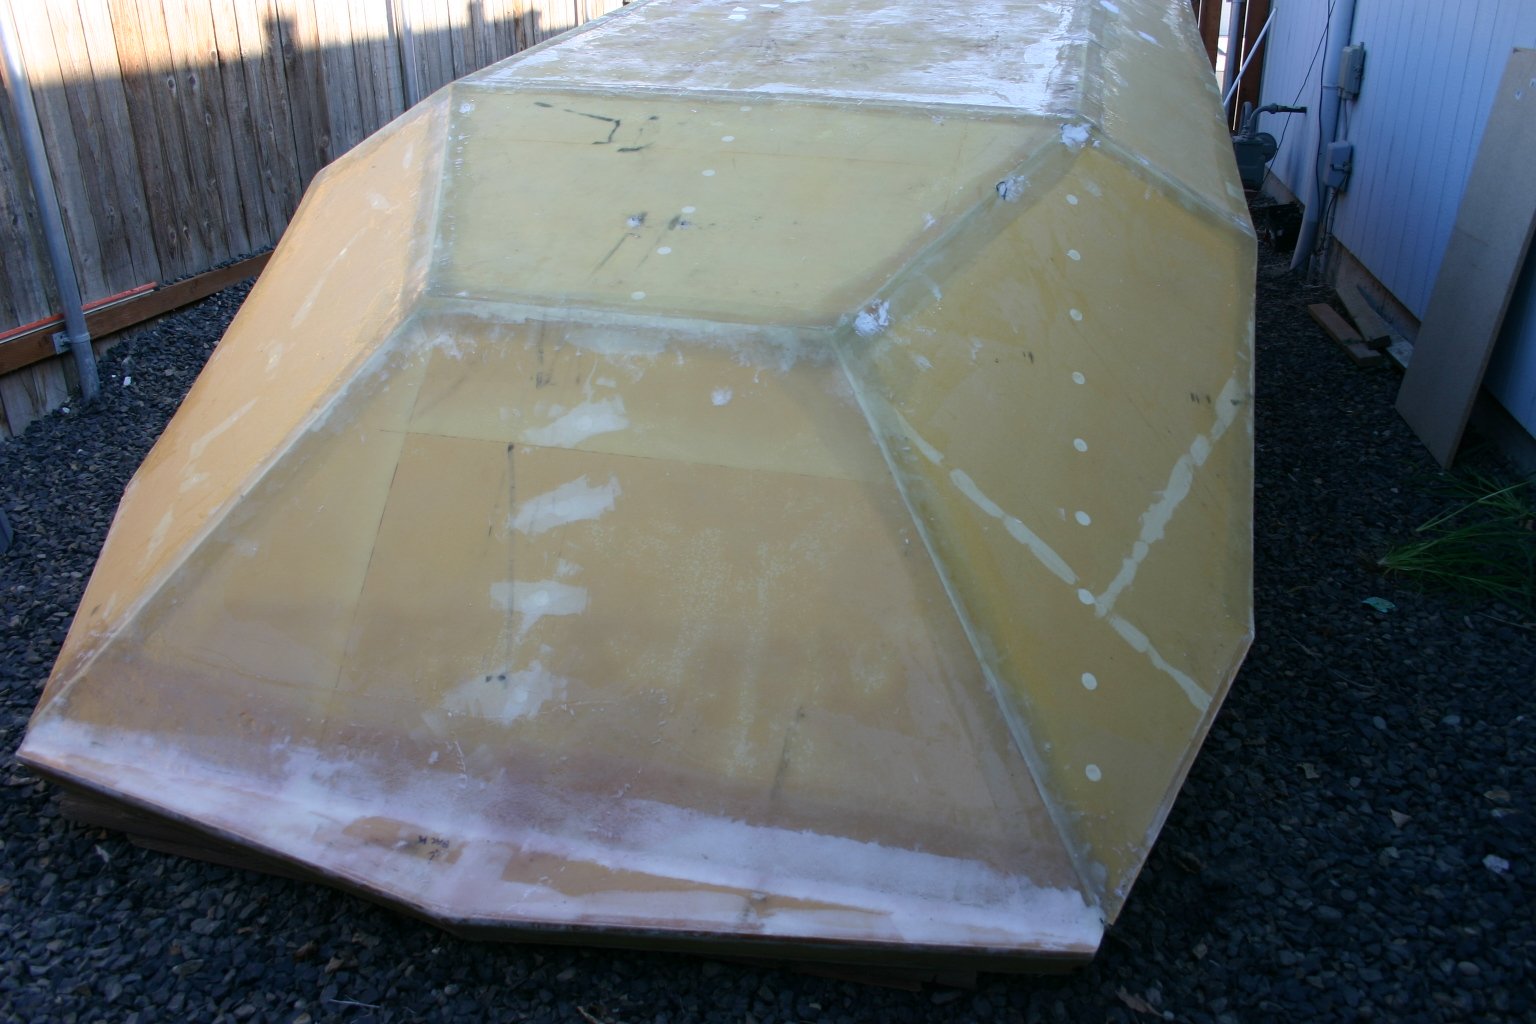
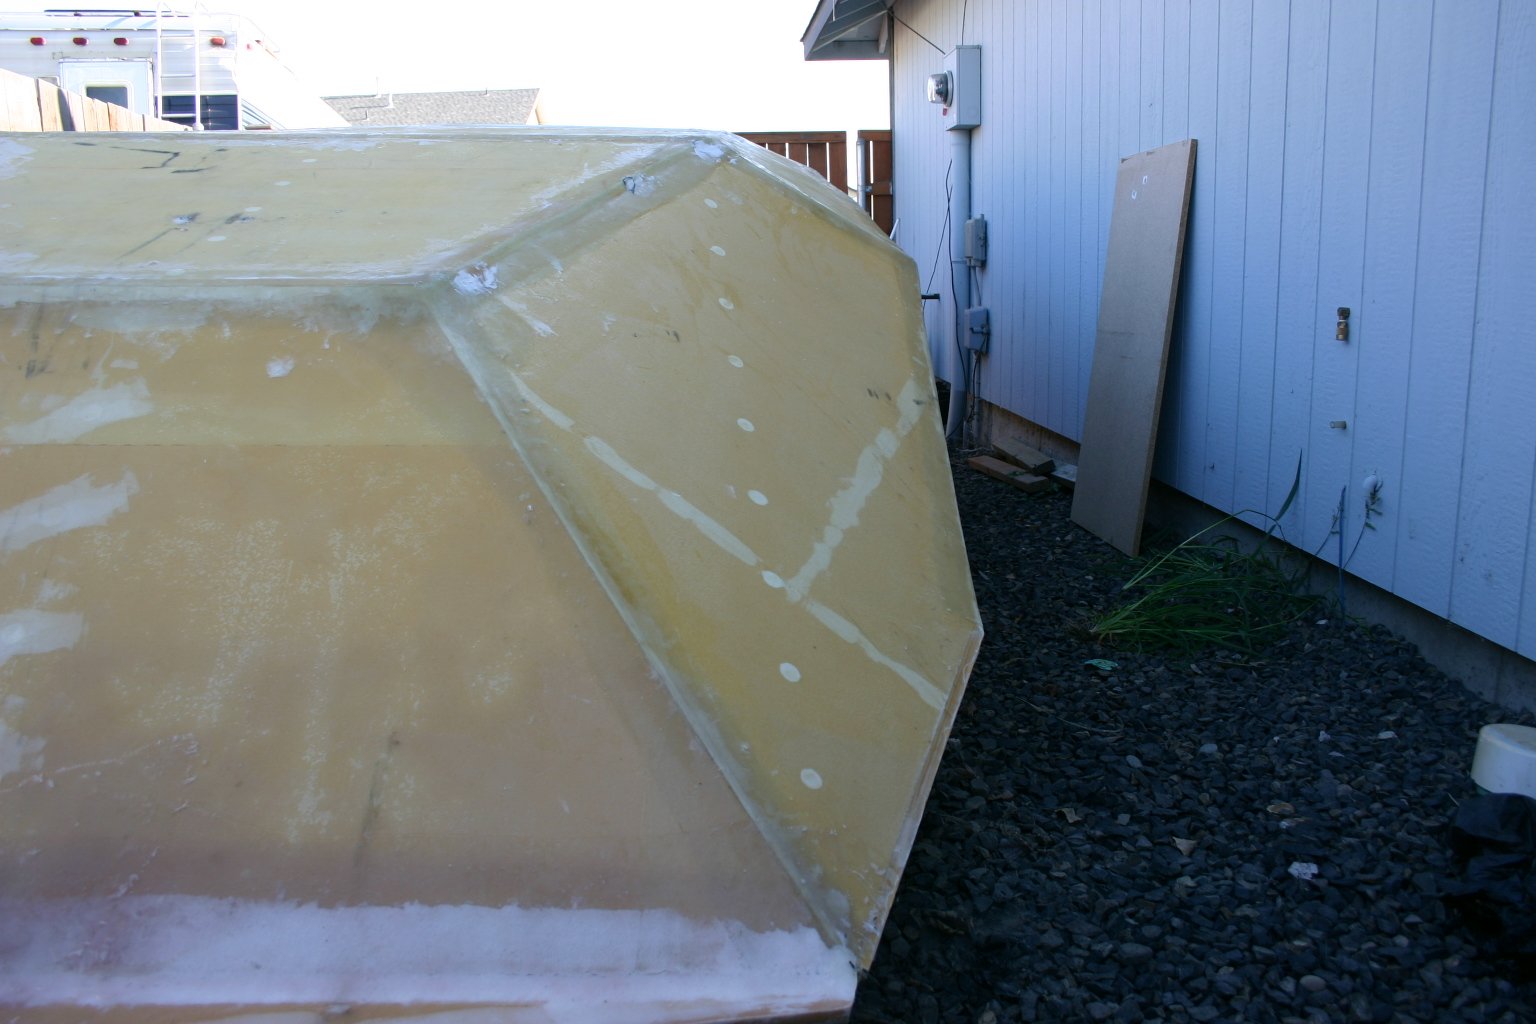
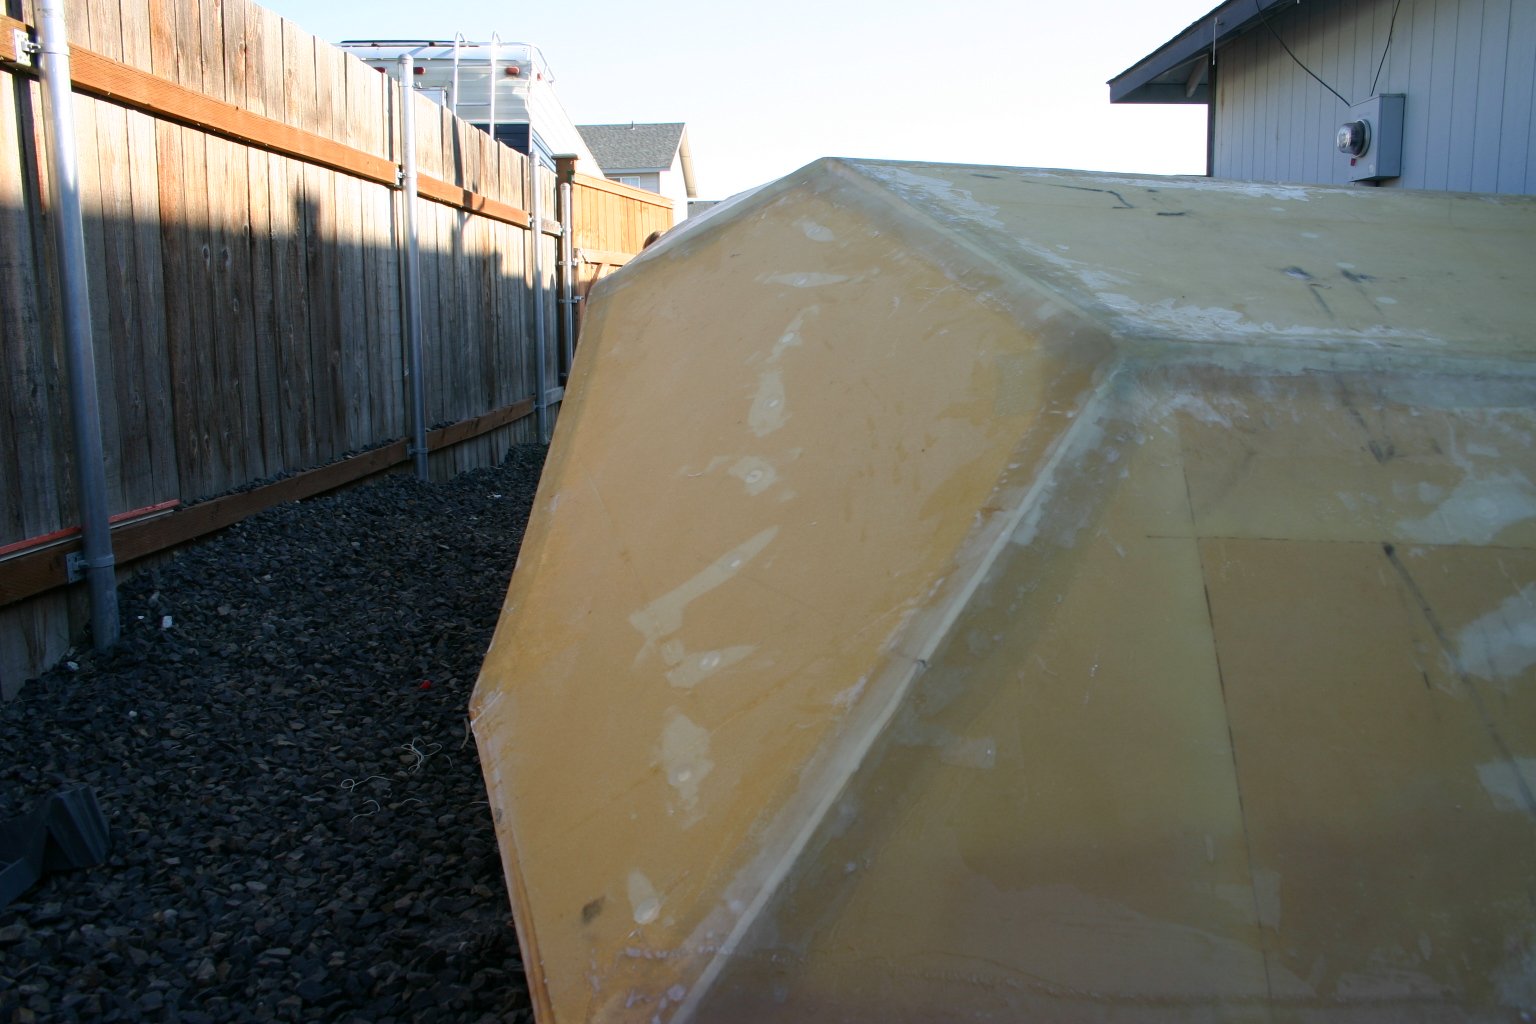
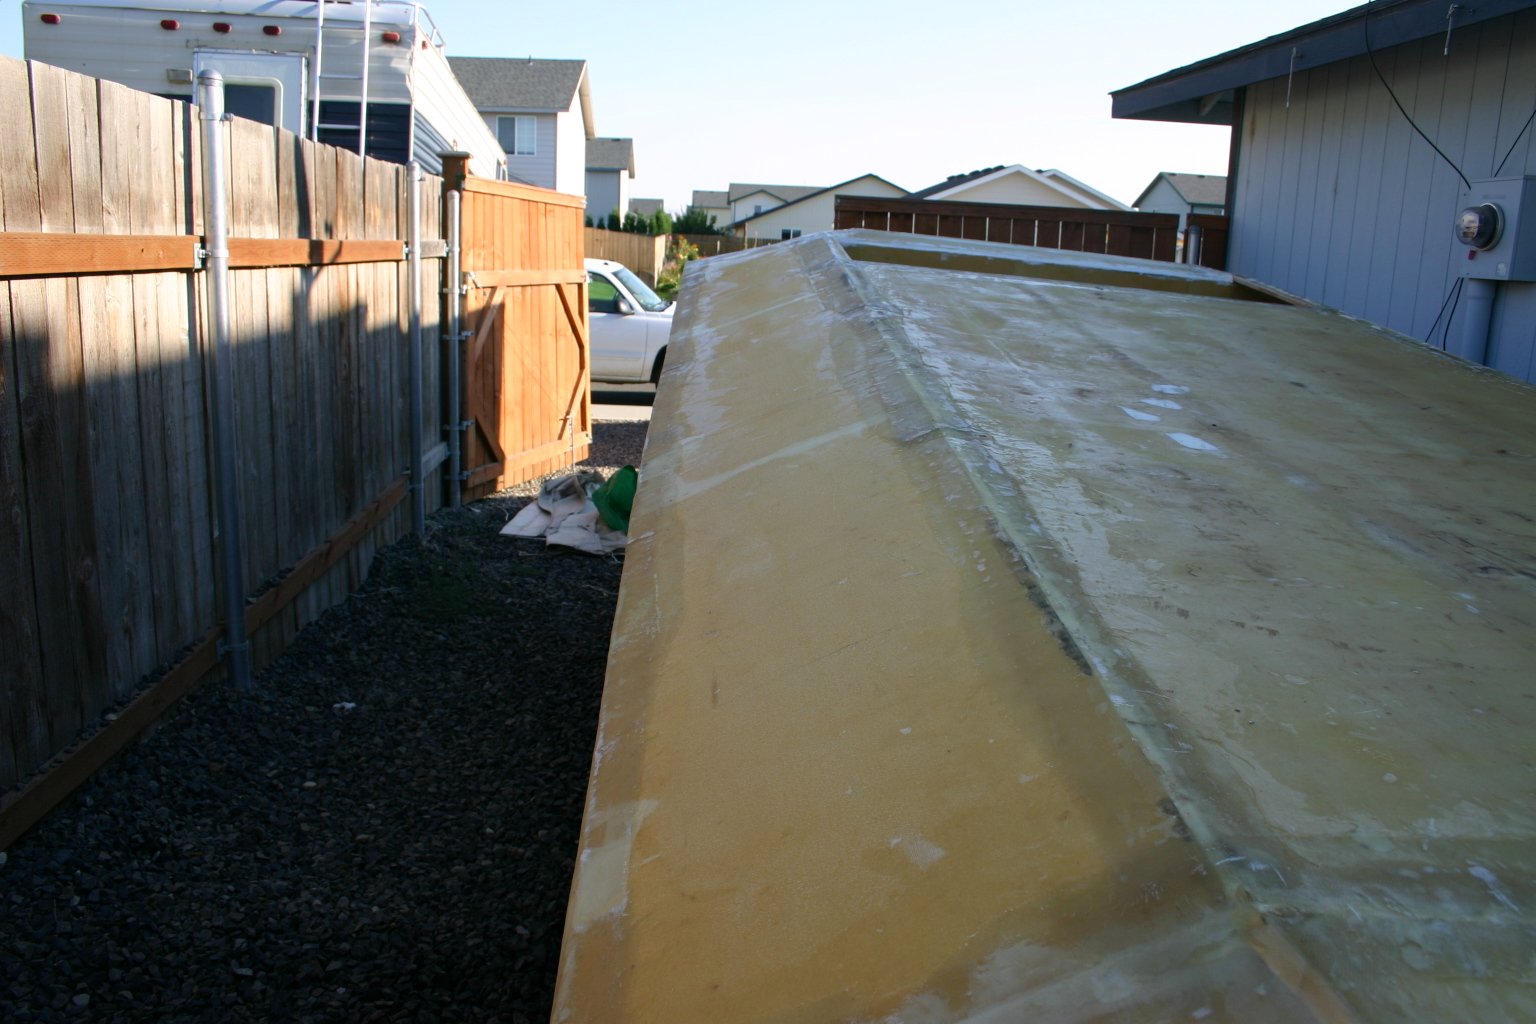
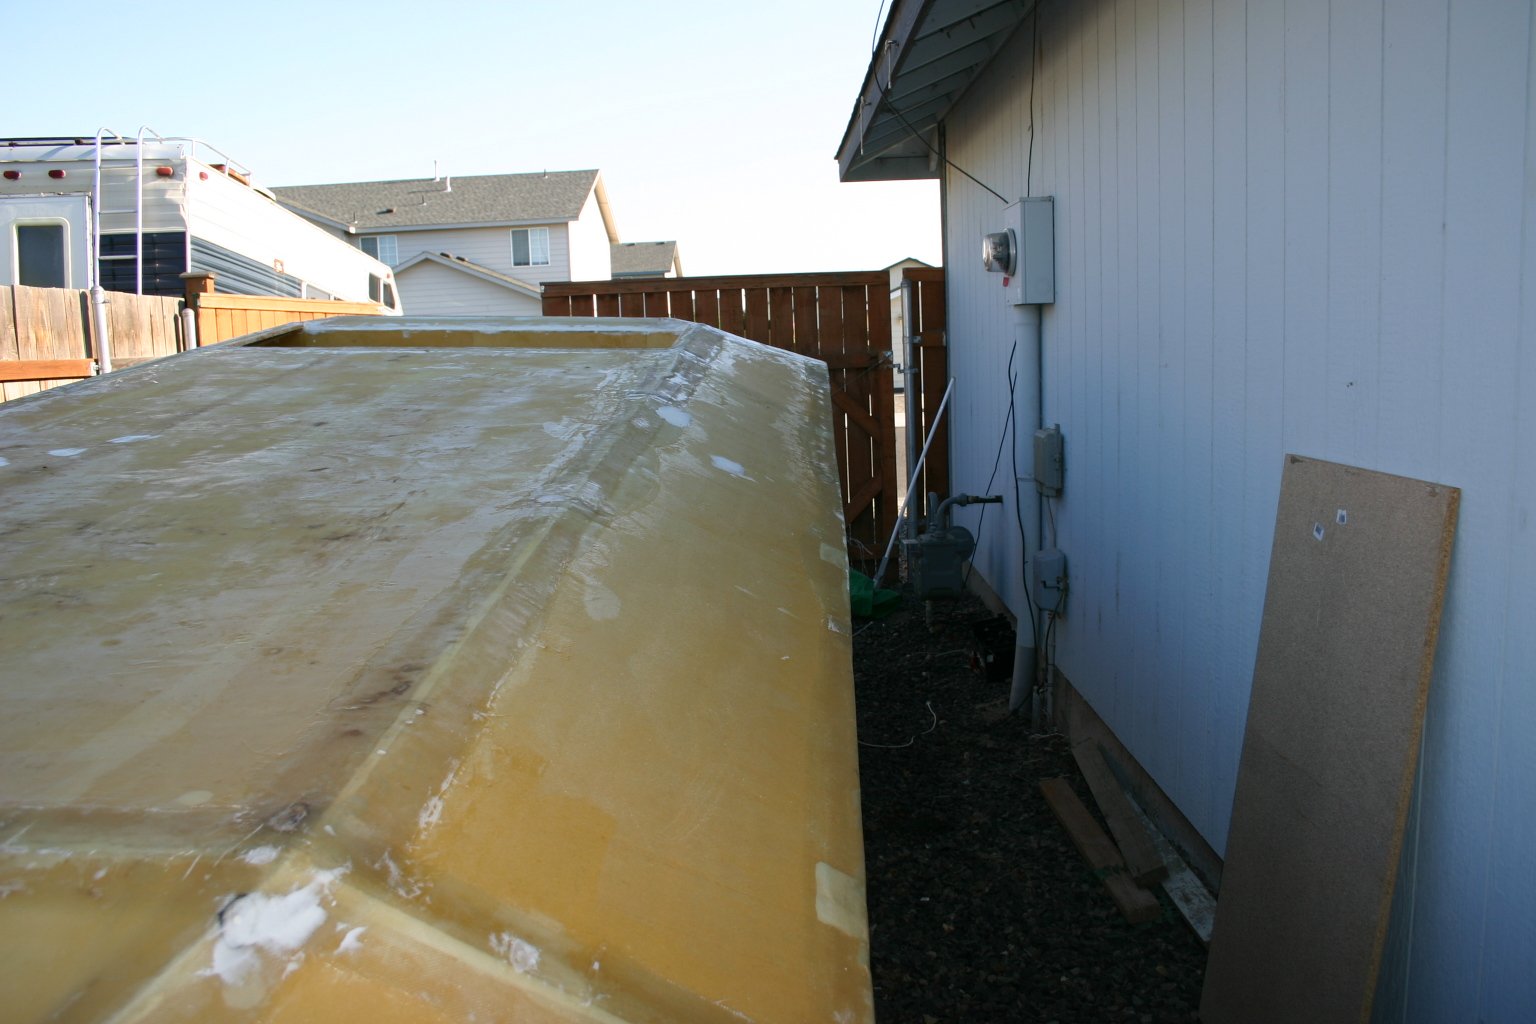
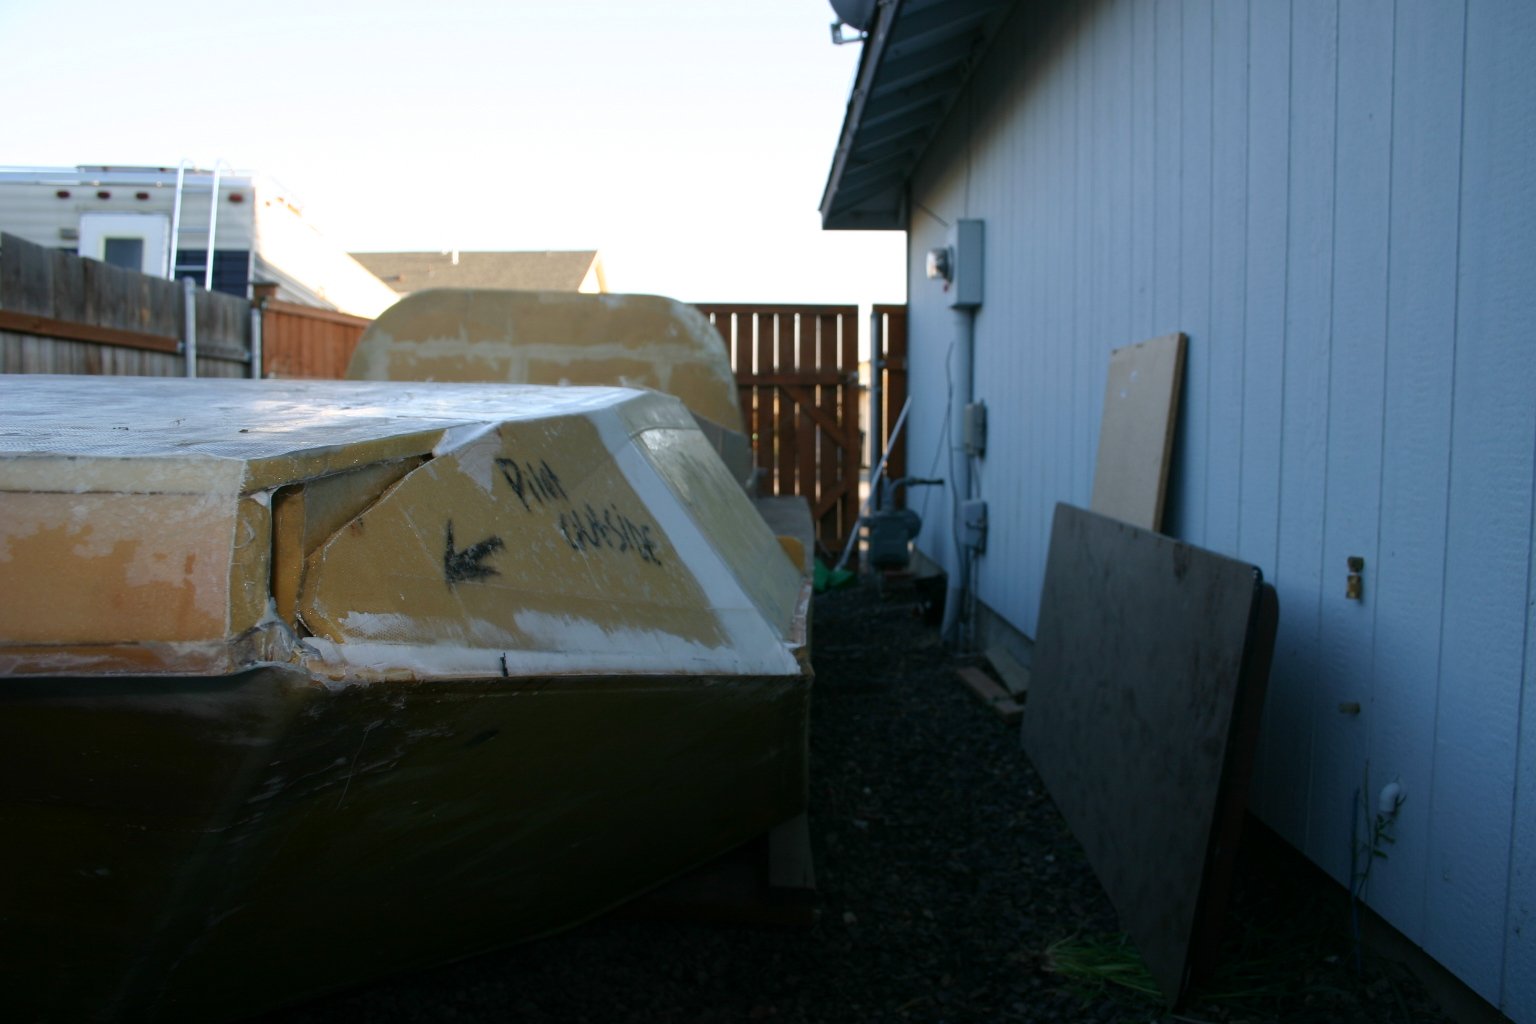
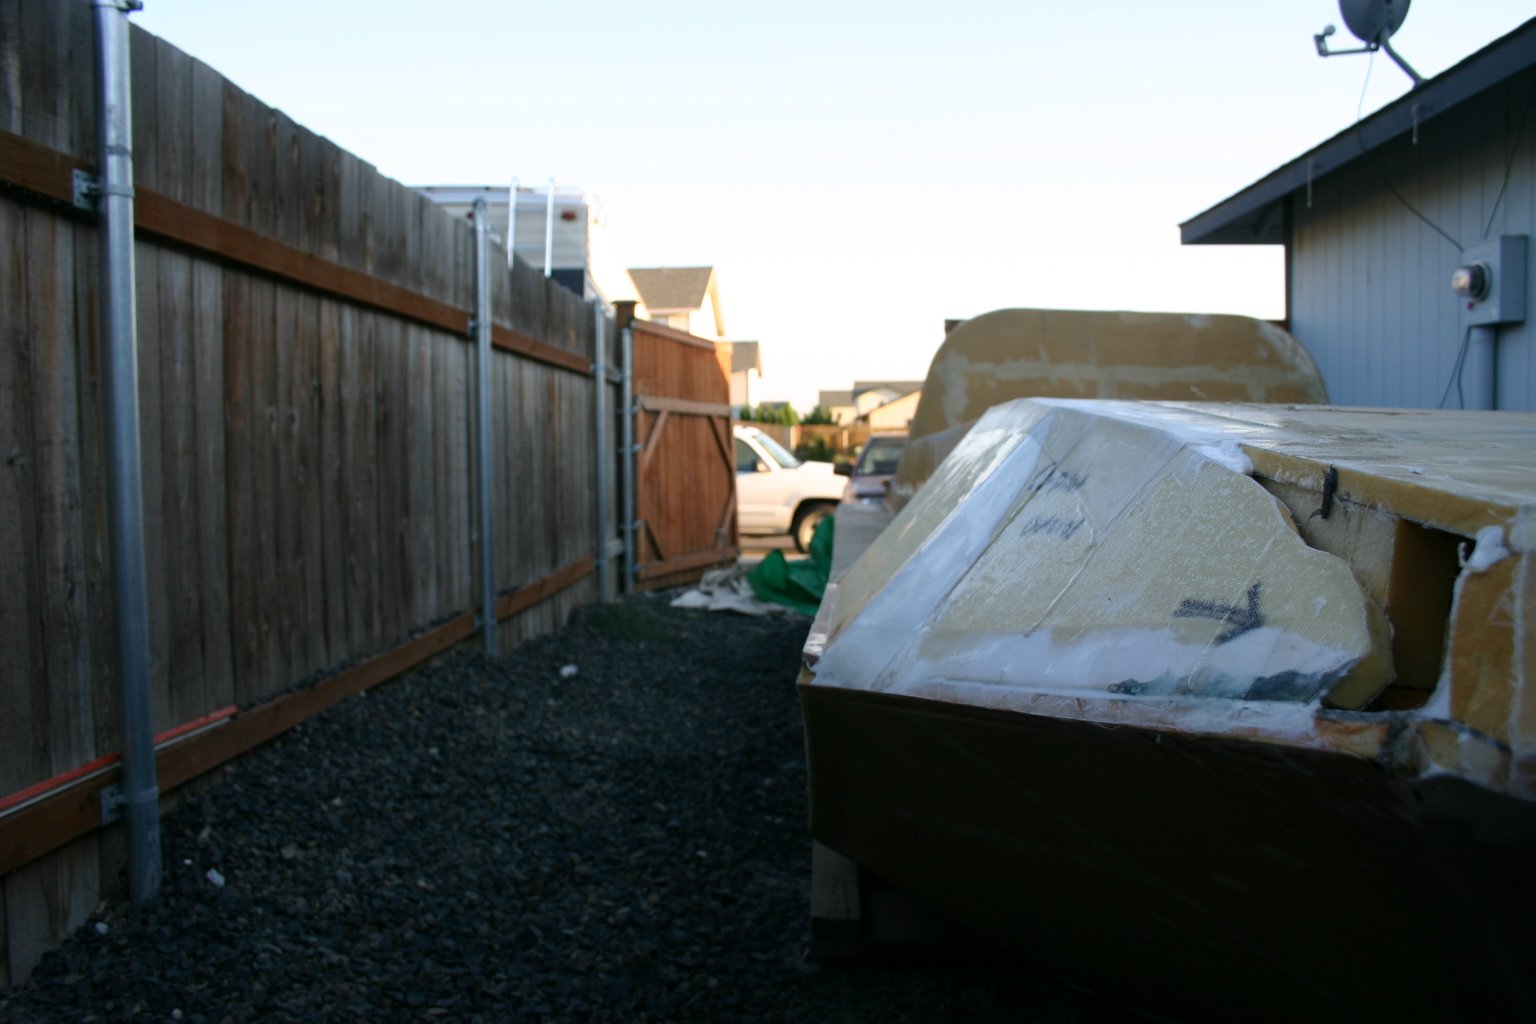
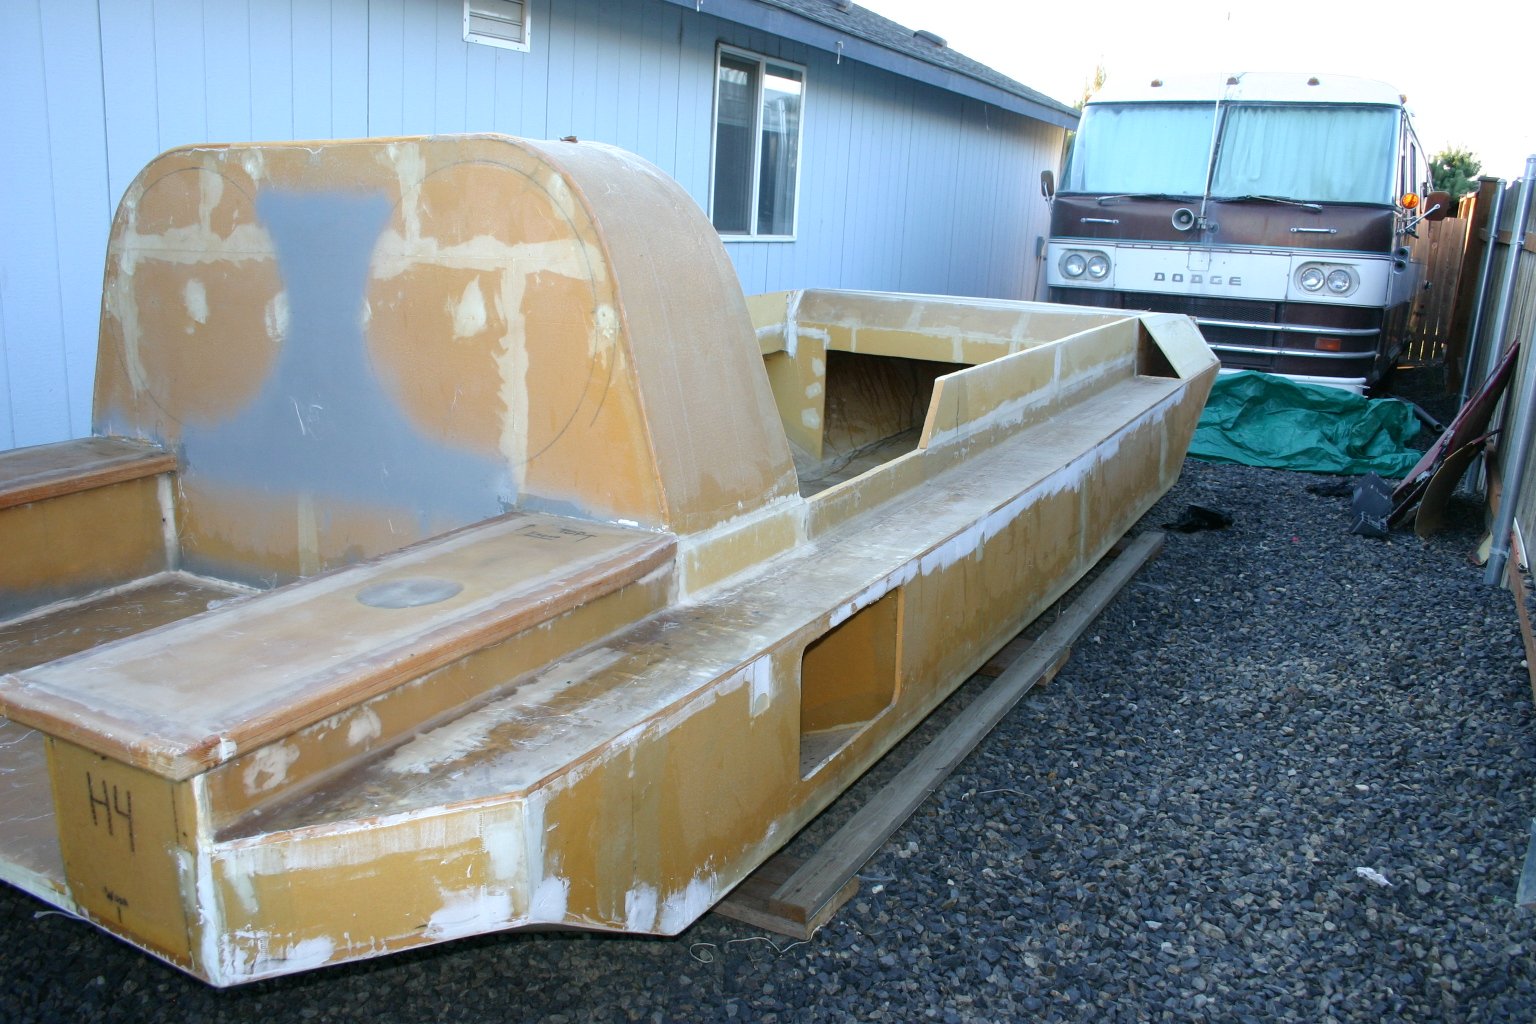
A note about these pictures: You'll notice the craft is outside in these pictures. Rest assured that this hull has not been exposed to the weather. It started life in an enclosed carport area, then moved into my enclosed garage. In the late fall of 2005 - less than a year ago as of this writing - the hull outgrew my garage due to the front extension being added. At this point it was necessary to move the hull outside. A heavy, canvas tarp was raised above the hull to protect it from sunlight. Lighter, plastic tarps were placed over the hull when not working on it, again to protect it from sunlight and any other weather that might come through. As fall progressed, the hull was flipped upside down in the configuration you see here. A sheet of wood was tacked over the fan bay with hot glue (to prevent the tarps from collapsing into it if we got much snow - turns out we got virtually none) and the hull was sealed with two layers of full length tarps: A large plastic tarp underneath to fully protect it from moisture and the thick canvas top on top to add further protection. Both tarps extended down both sides of the craft and were buttoned up underneath it. Additionally, the entrances to the lower bow area were sealed with thick plastic to prevent any animals from getting in and nesting, etc. As a result of my precautions, this craft has never been exposed to the weather. The tarps were removed for these photos, placed back on when complete, and photos were taken during the evening when the hull would be shaded from direct sunlight. This hull has always been extremely well protected as even short term exposure to UV rays will degrade the foam significantly and it should continue to be protected by it's new owner until it can be sealed appropriately (gel coat, sanding primer, paint, whatever combination of sealant you choose to use). |
Bottom
 |
 |
 |
 |
 |
 |
 |
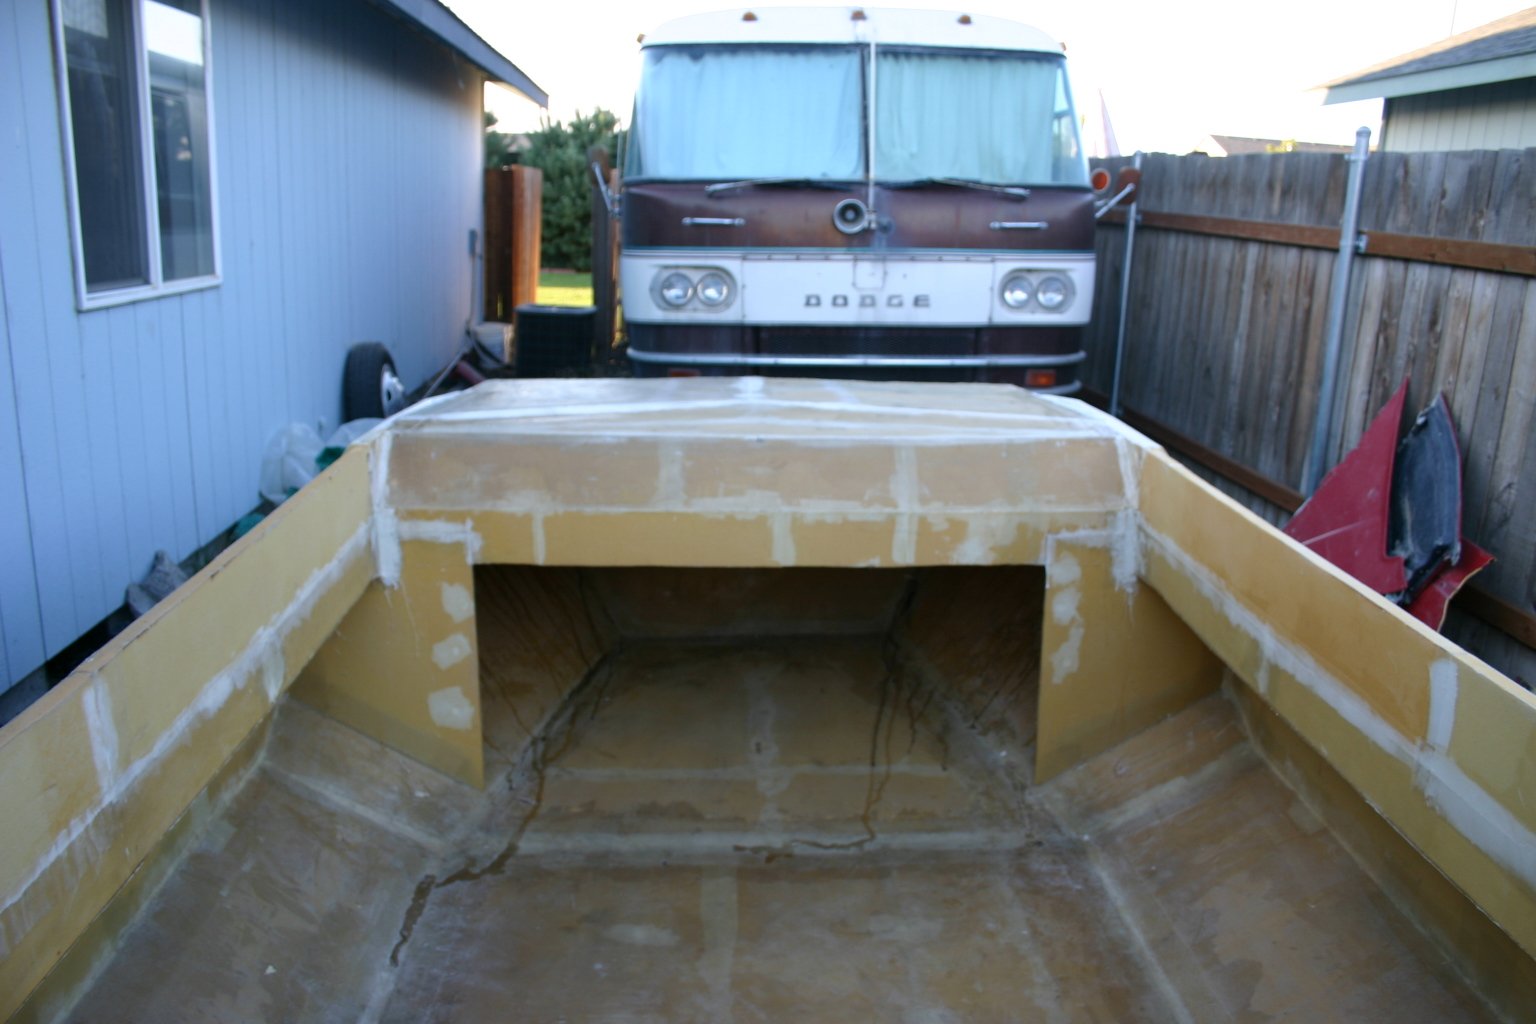
 Note that the hull is every bit as strong as it should be. In this and the next two pictures, I am standing on the bottom of the floor. |
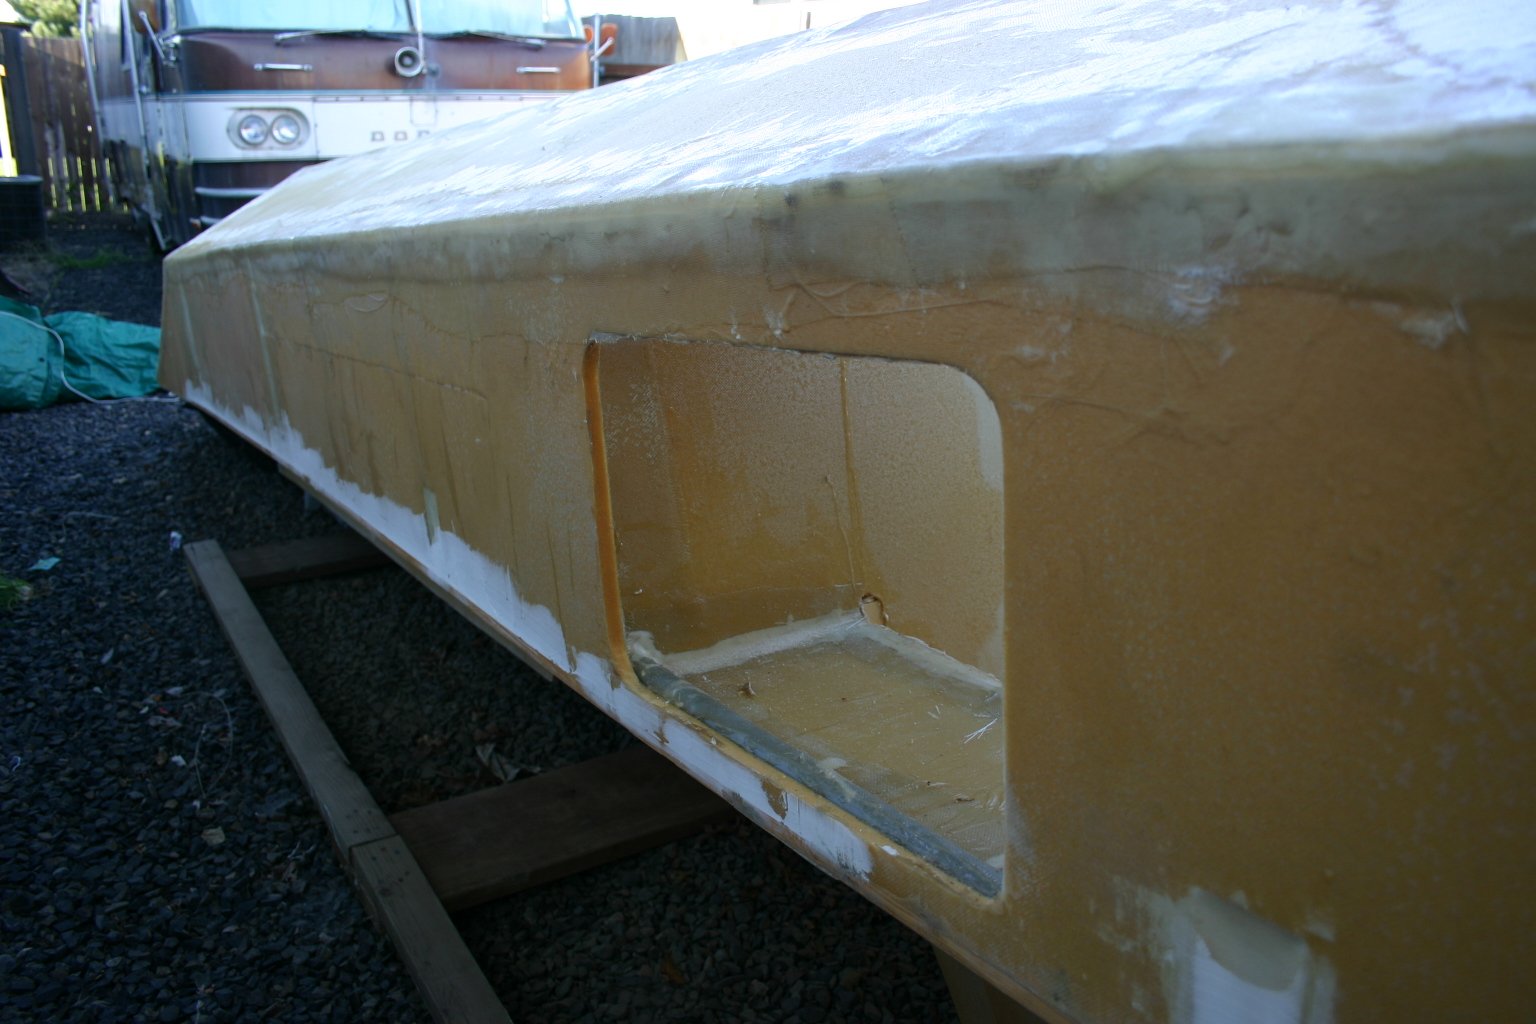
 Looking into the fan bay from the bottom... |
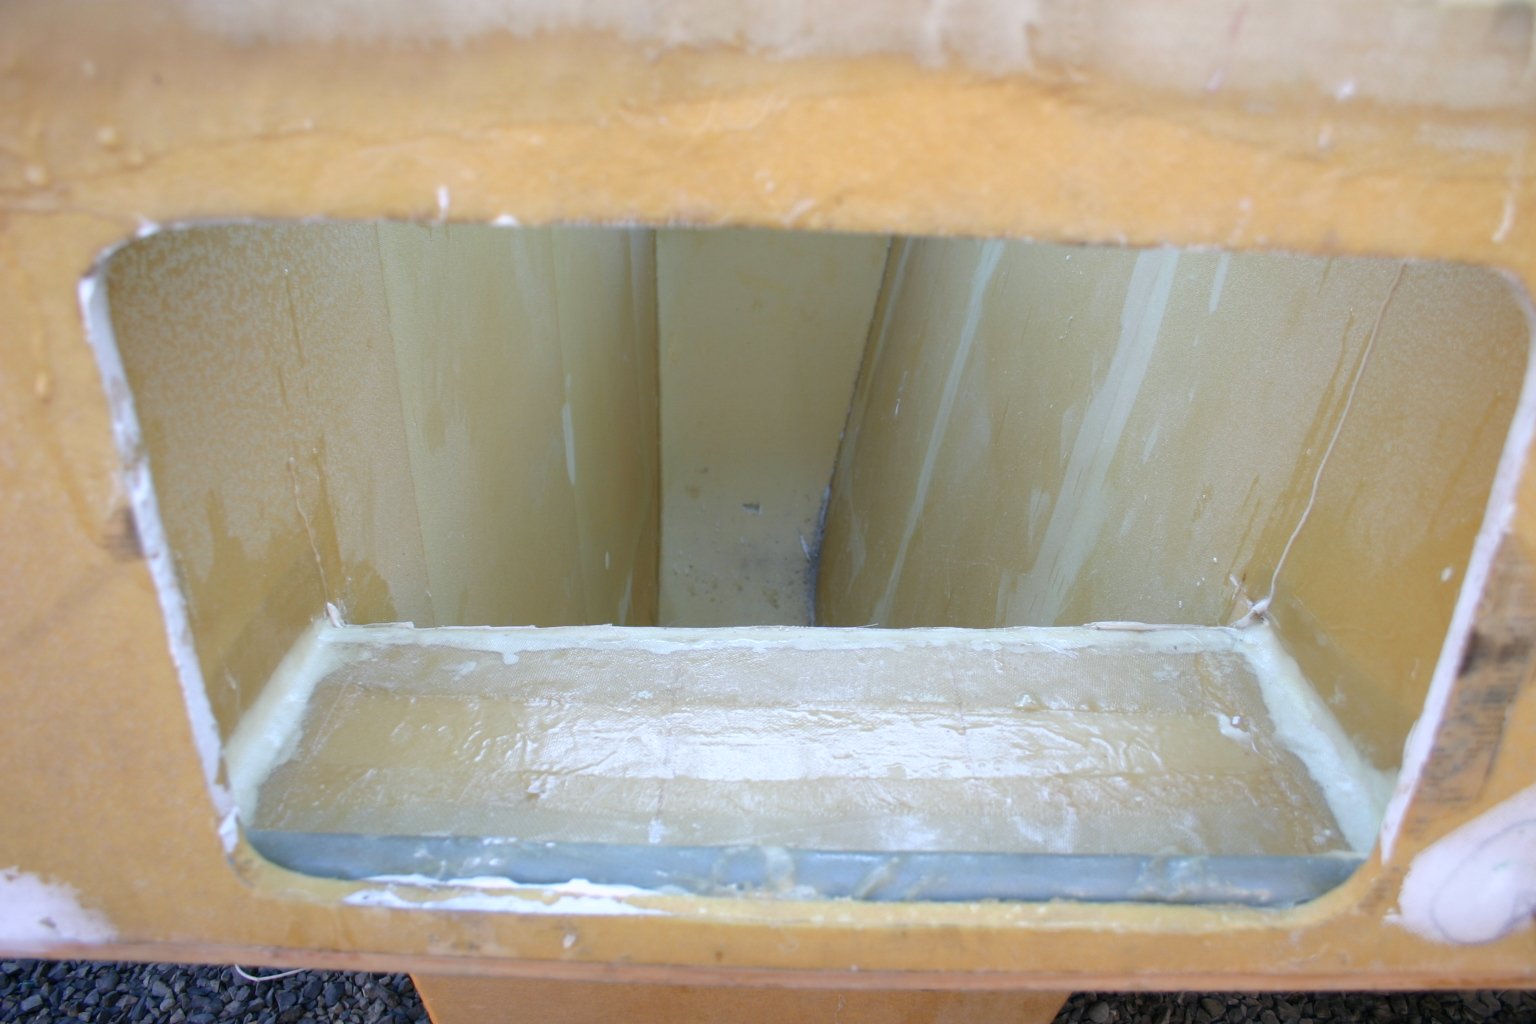
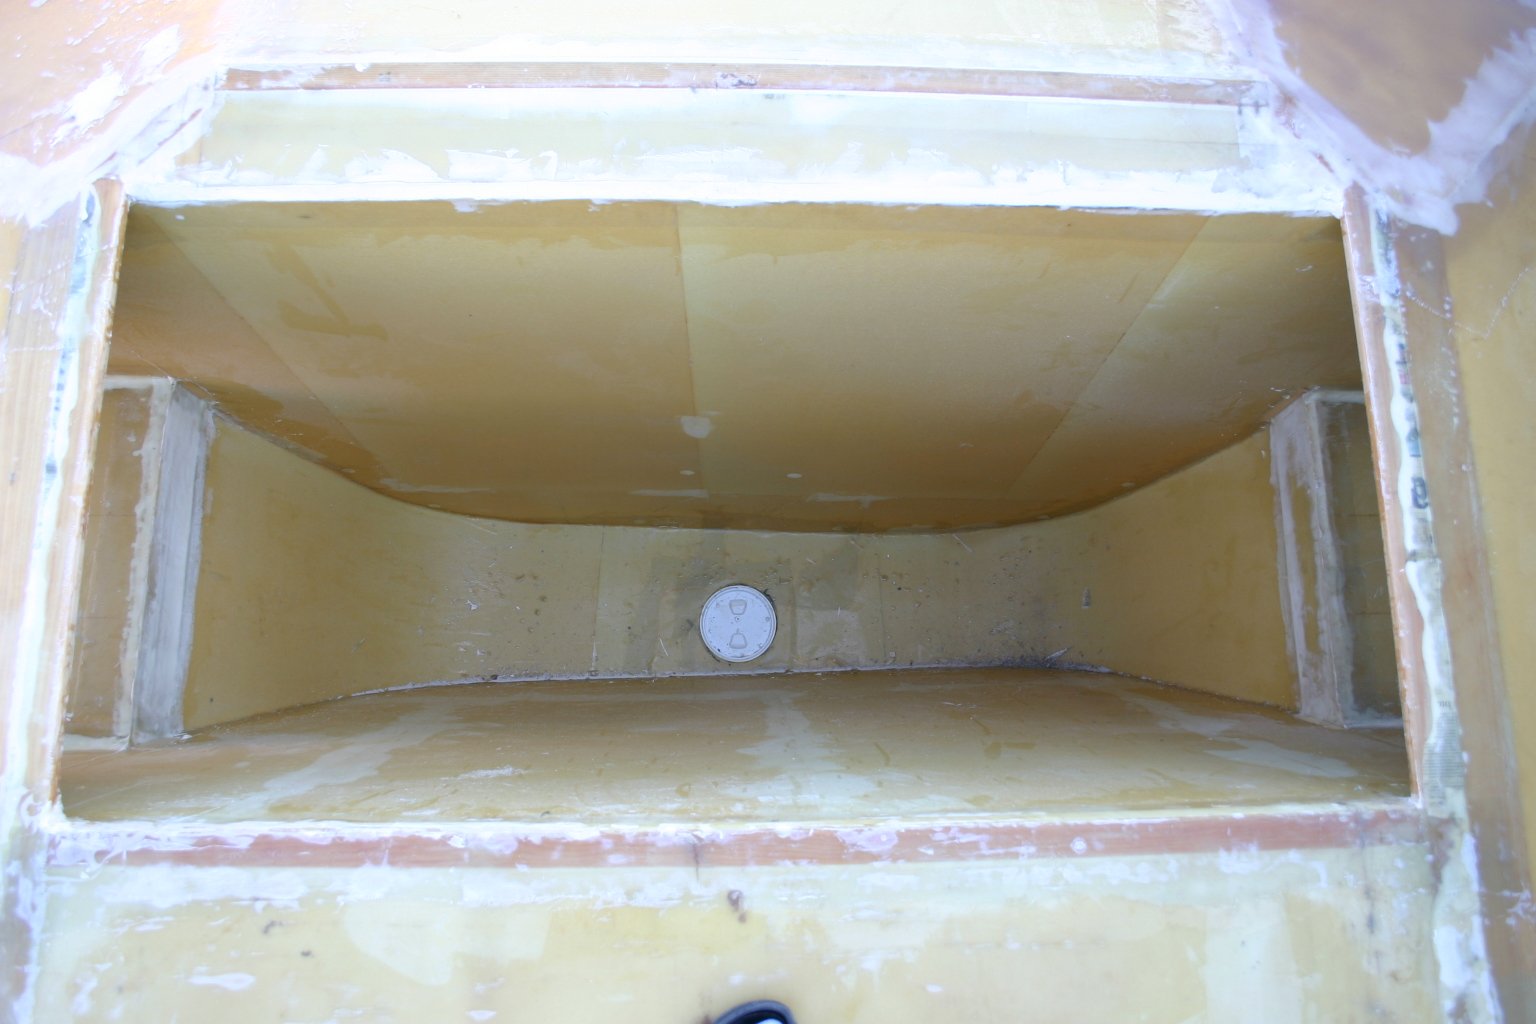 I believe the inner seams, which you see toward the bottom of the fan bay in this picture, should be "rounded" with microballoon putty and glassed with 6oz cloth tape. This is one of the few areas on the hull that requires any further fiberglass work. |
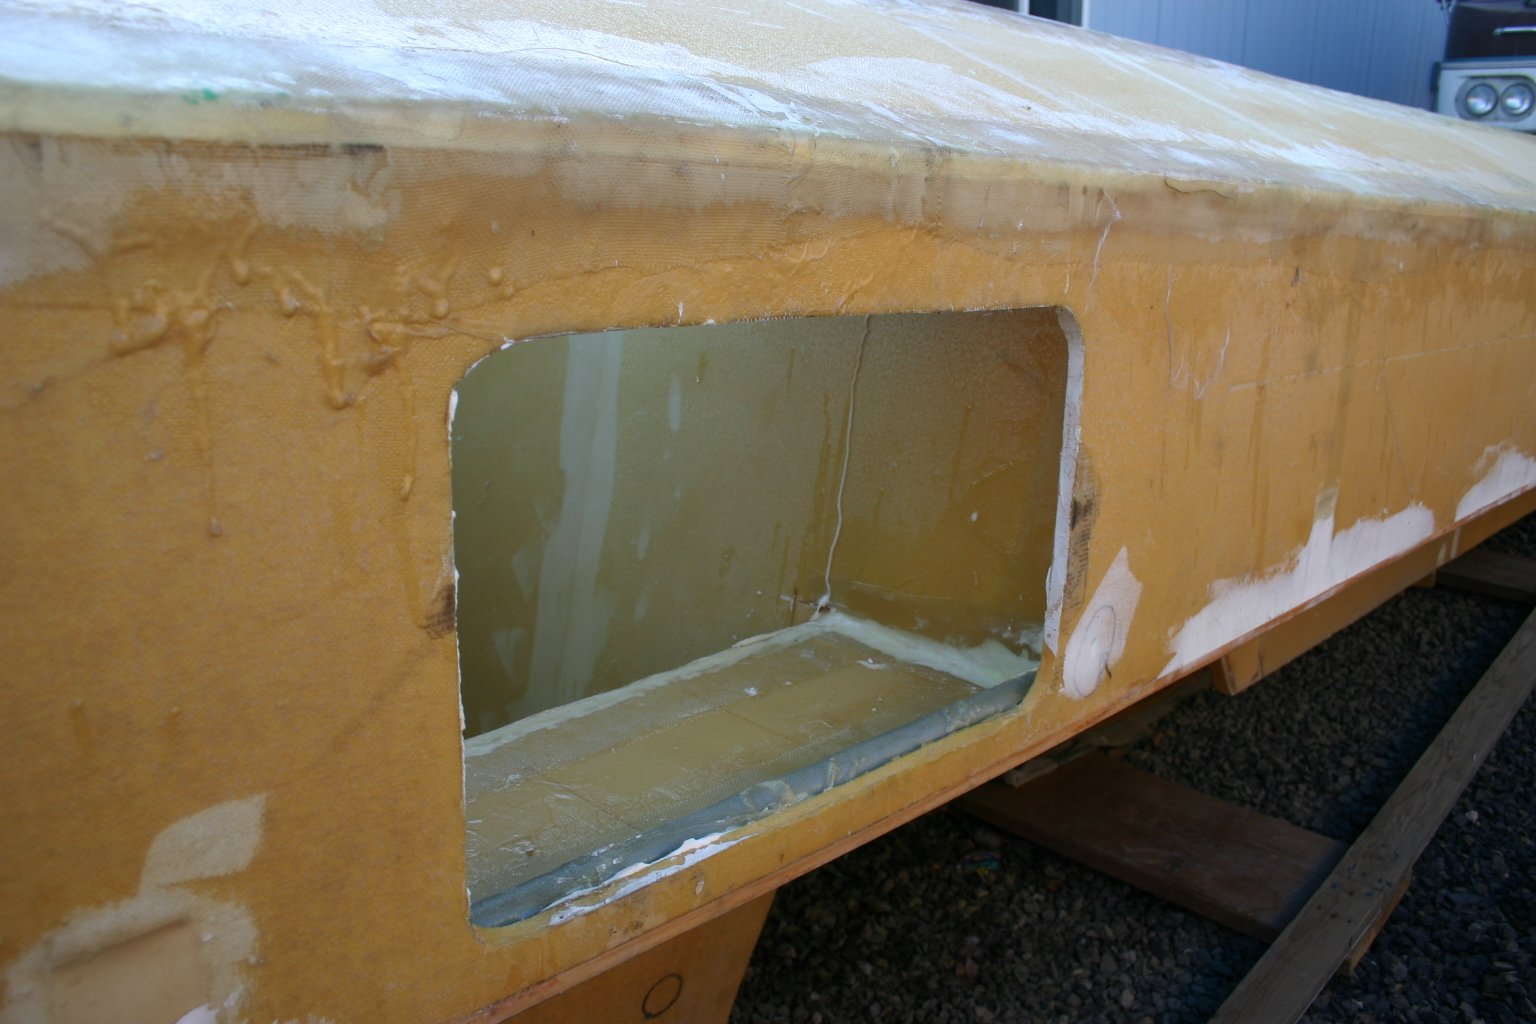
 Lots of microballoon putty was used in this area, as you can see. The foam for this panel cracked when it was being installed & glassed in on the inside of the rear floatation compartment. Unable to easily remove it at this point, the crack was smoothed out as well as possible and filled with microballoon putty, and then the bottom of the panel was glassed. This panel should be as structurally sound as any other and should not present any problem. |
 |
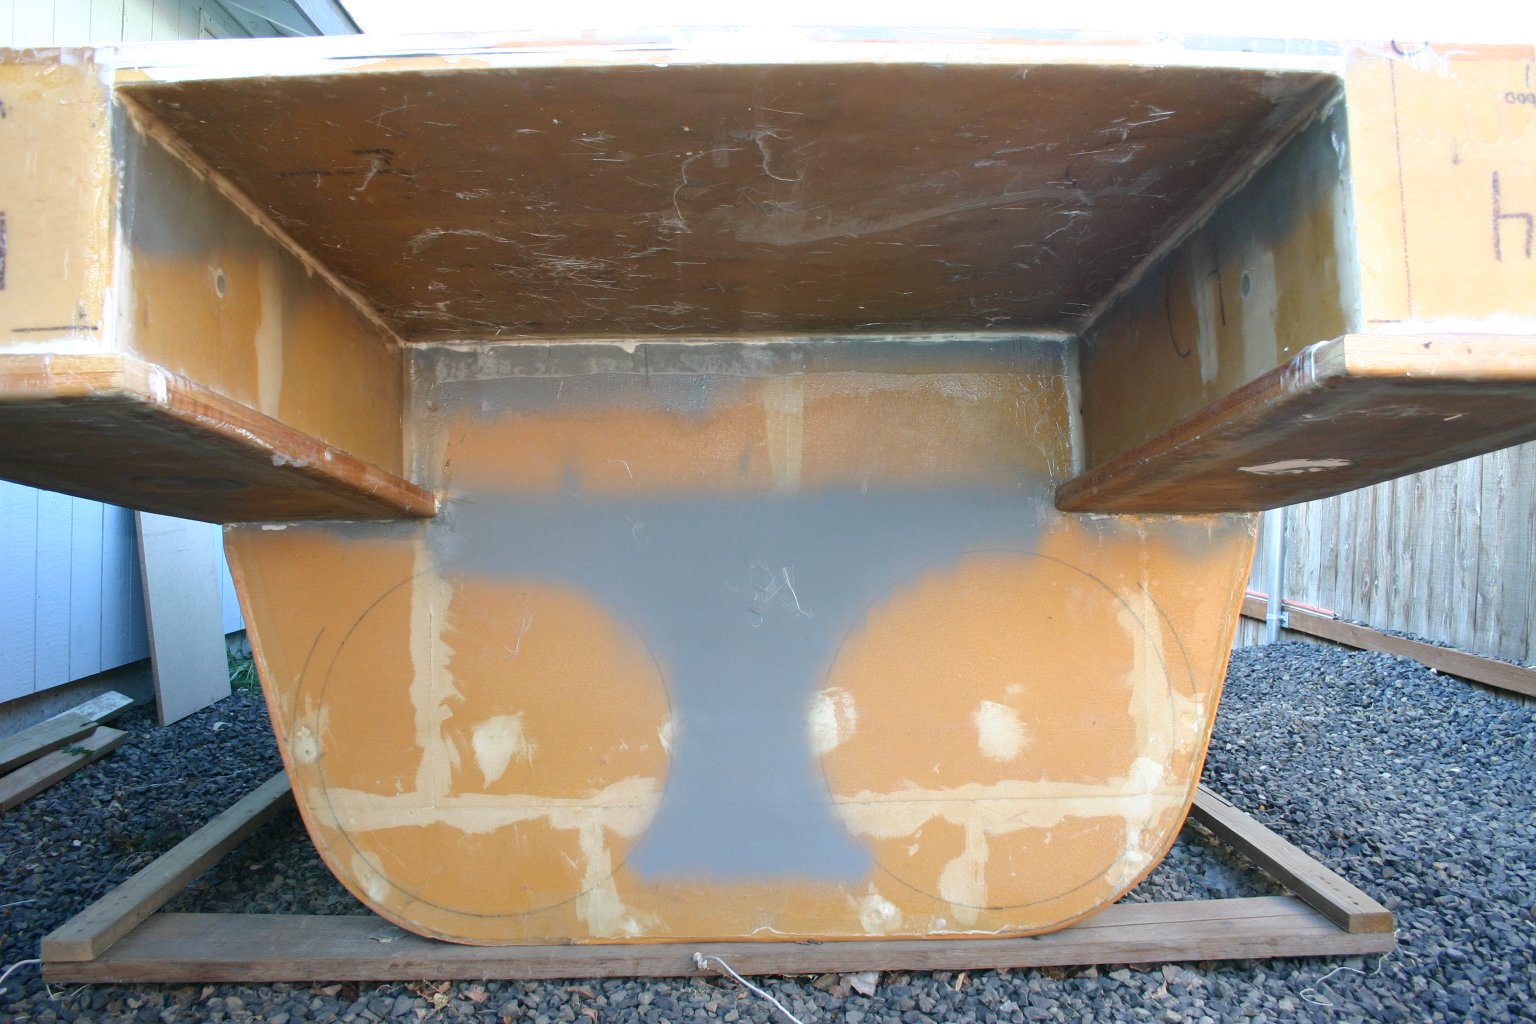 The grey you see here is a Duratek sanding primer. The interior of the center flotation compartment (underneath the engine area) has been sprayed with this primer. This will protect the hull if any water intrudes into this area. The primer you see was what I had leftover in the spray gun after doing the engine flotation areas. |
 As you can see, significant sanding needs to take place before final prep & finish. |
 |
 |
 The grey PVC you see here is glassed into the hull to facilitate routing wiring, etc, to the engine bay. This is present on both sides of the craft and extends to the front, with a break near the rear (just in front of the fan bay). | |
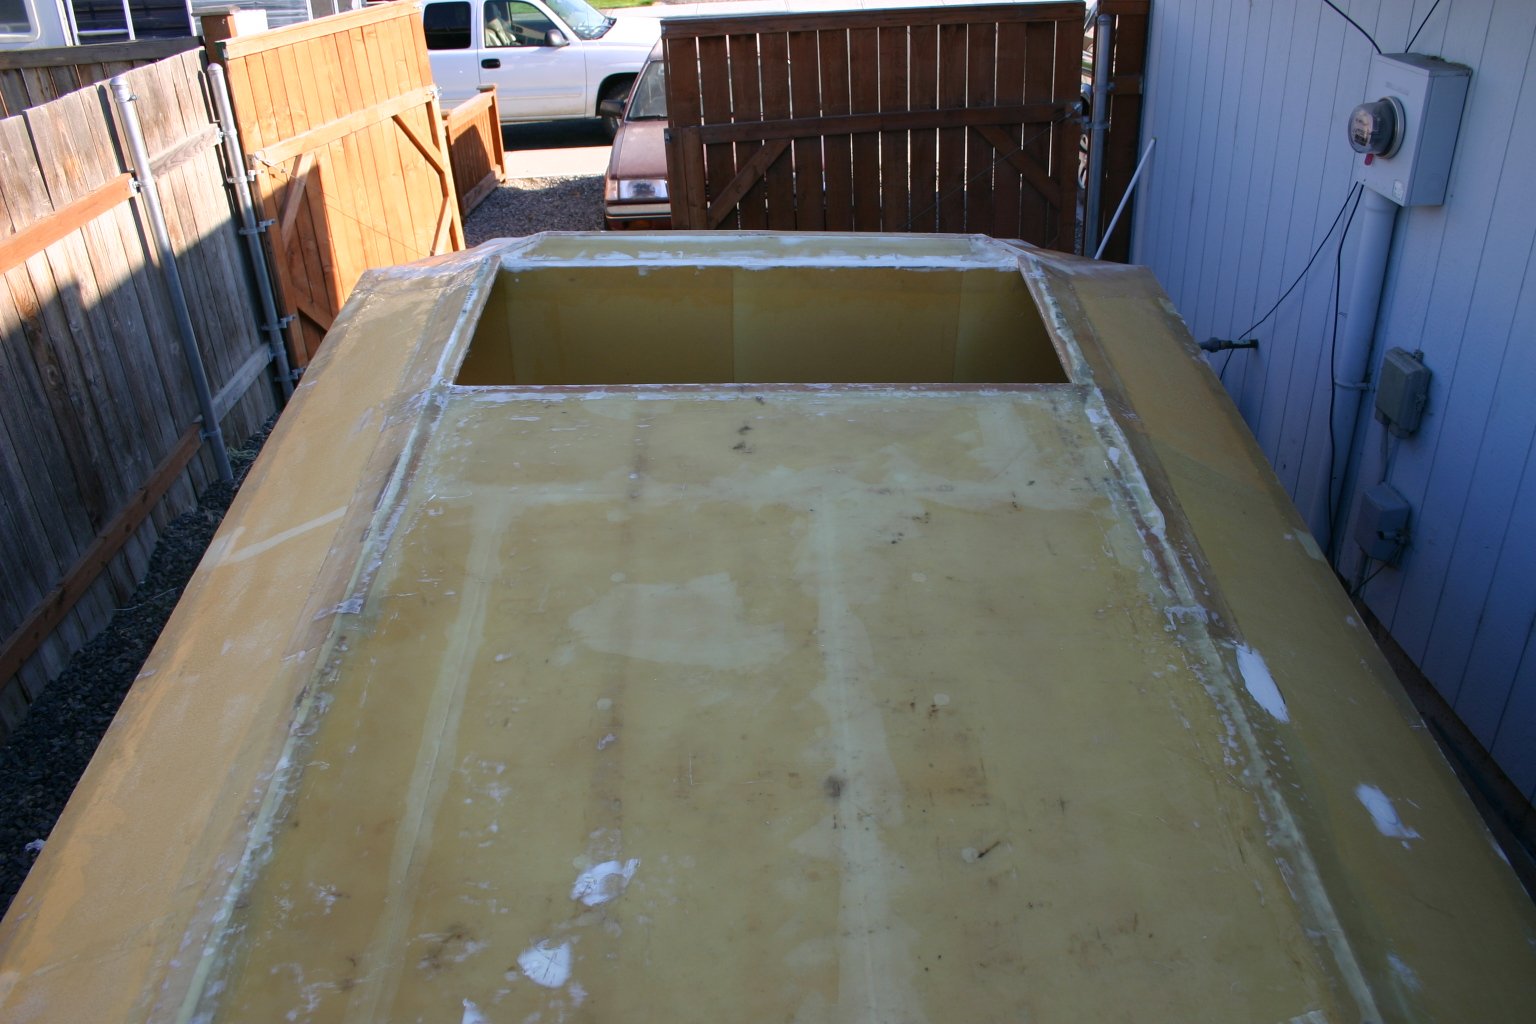
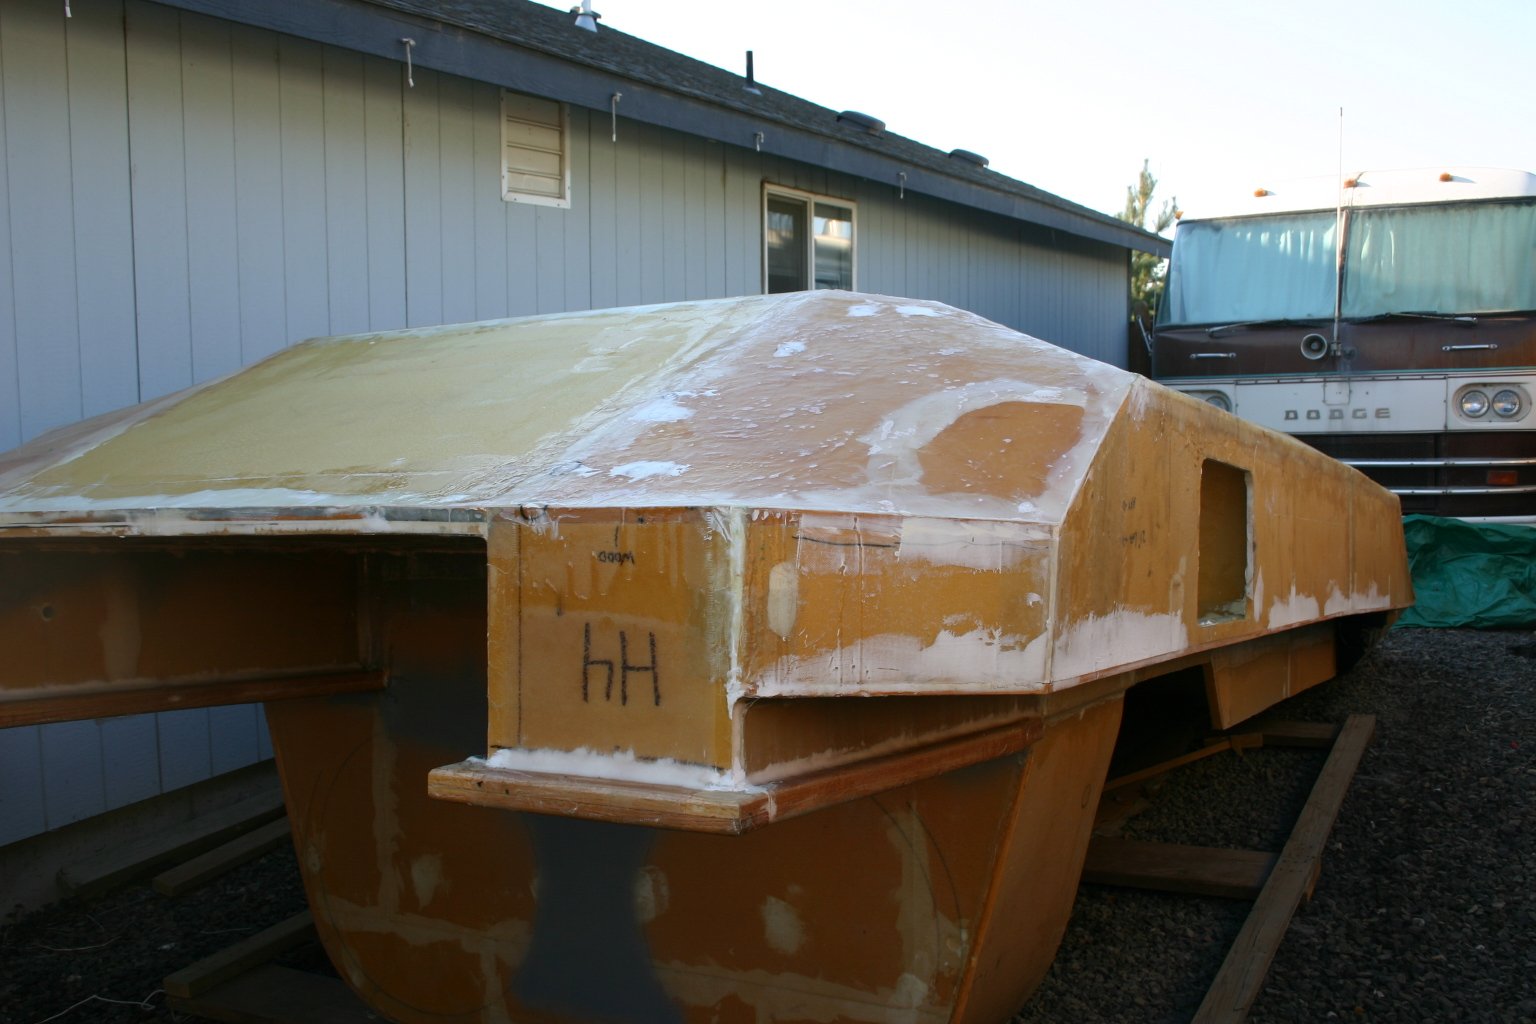
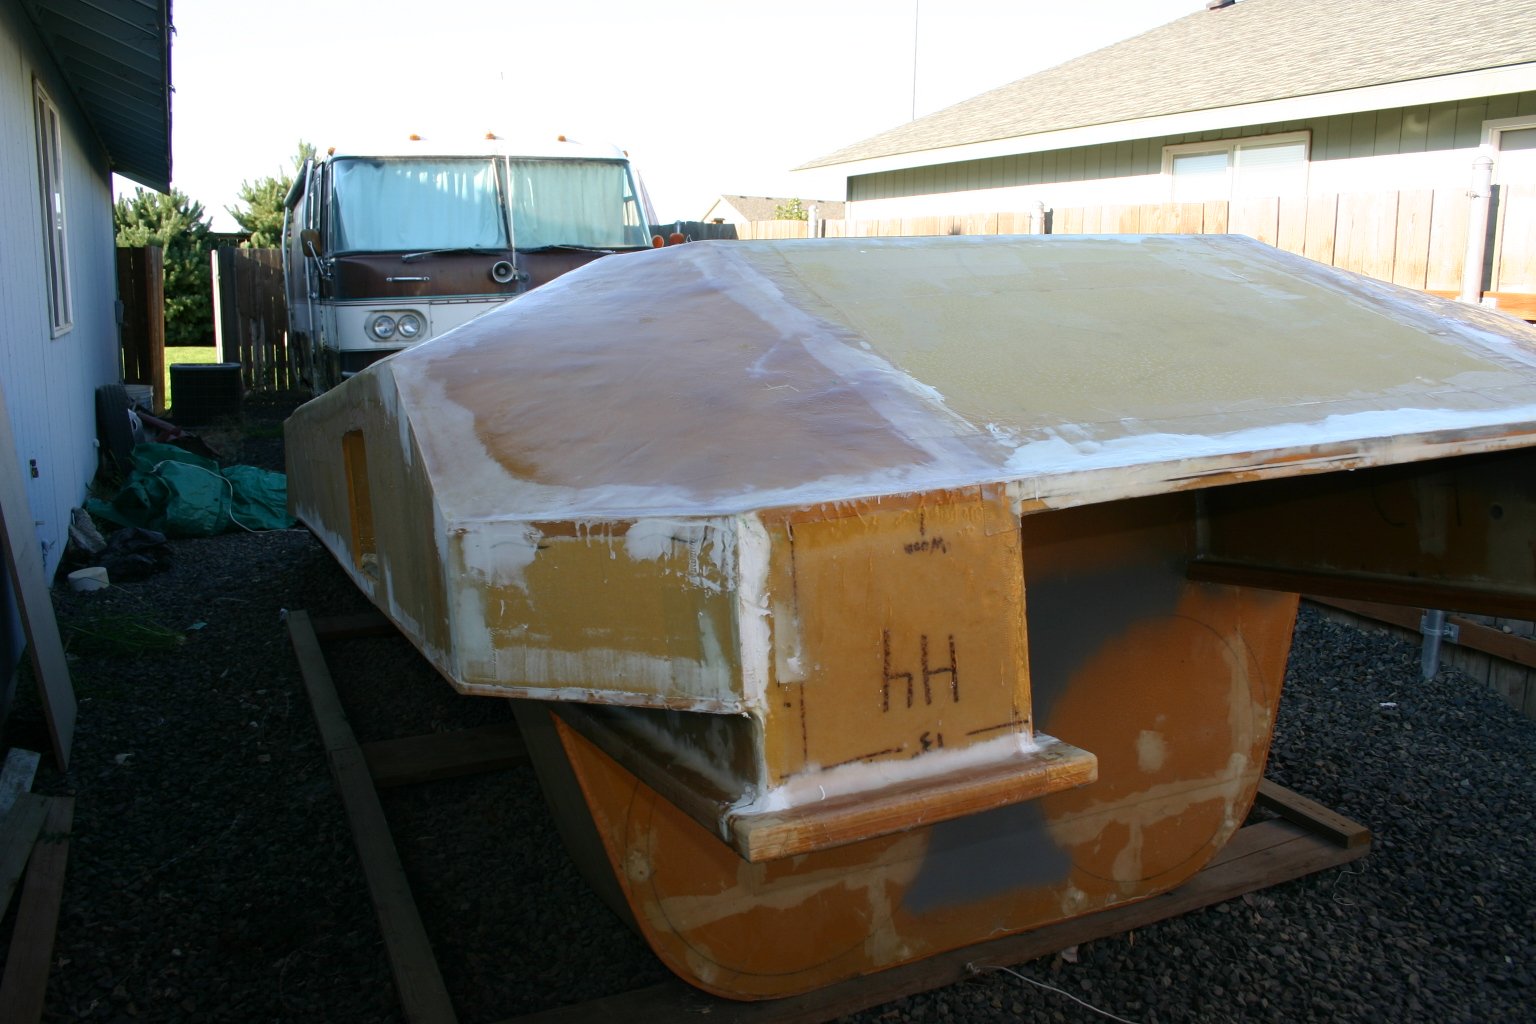
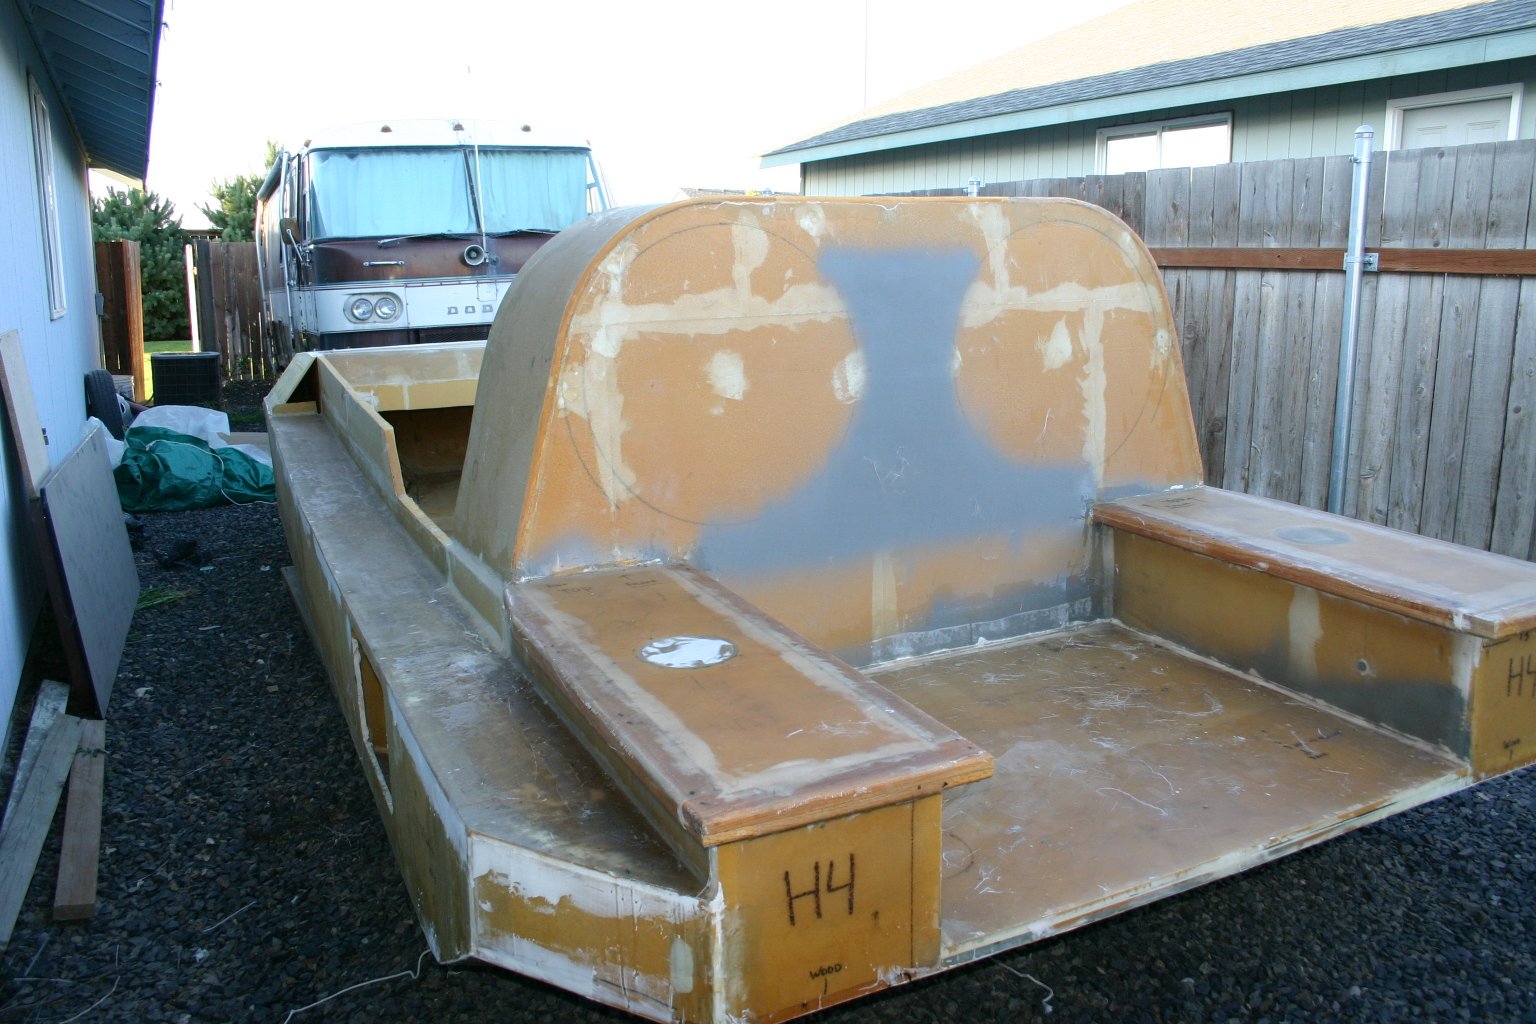
Top
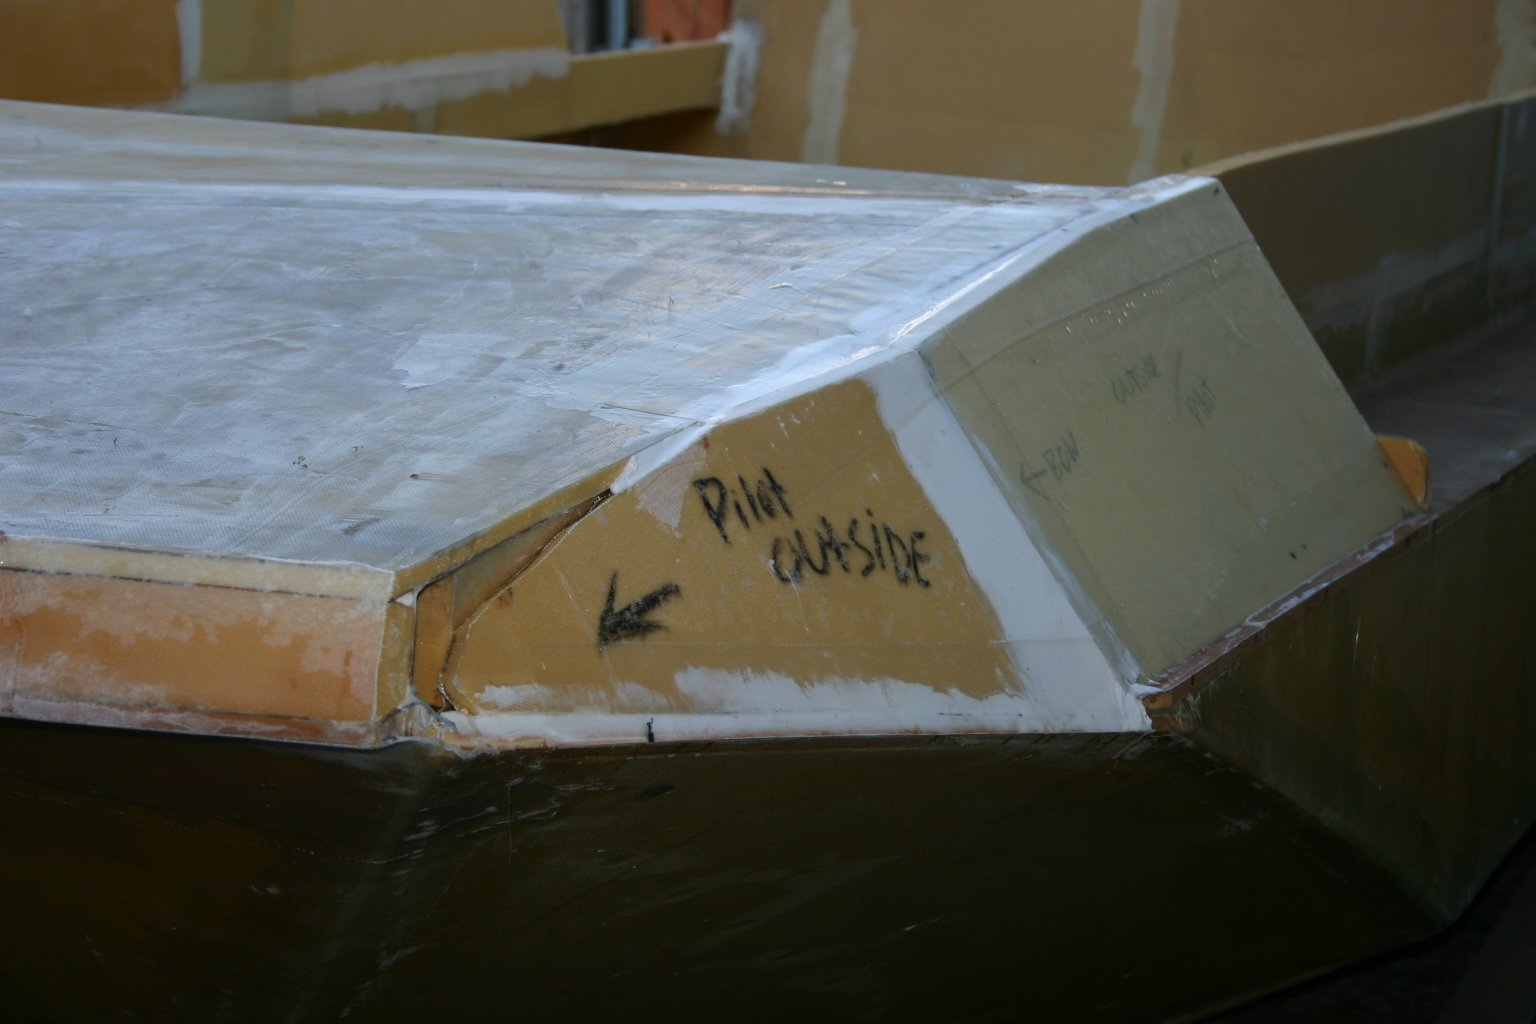
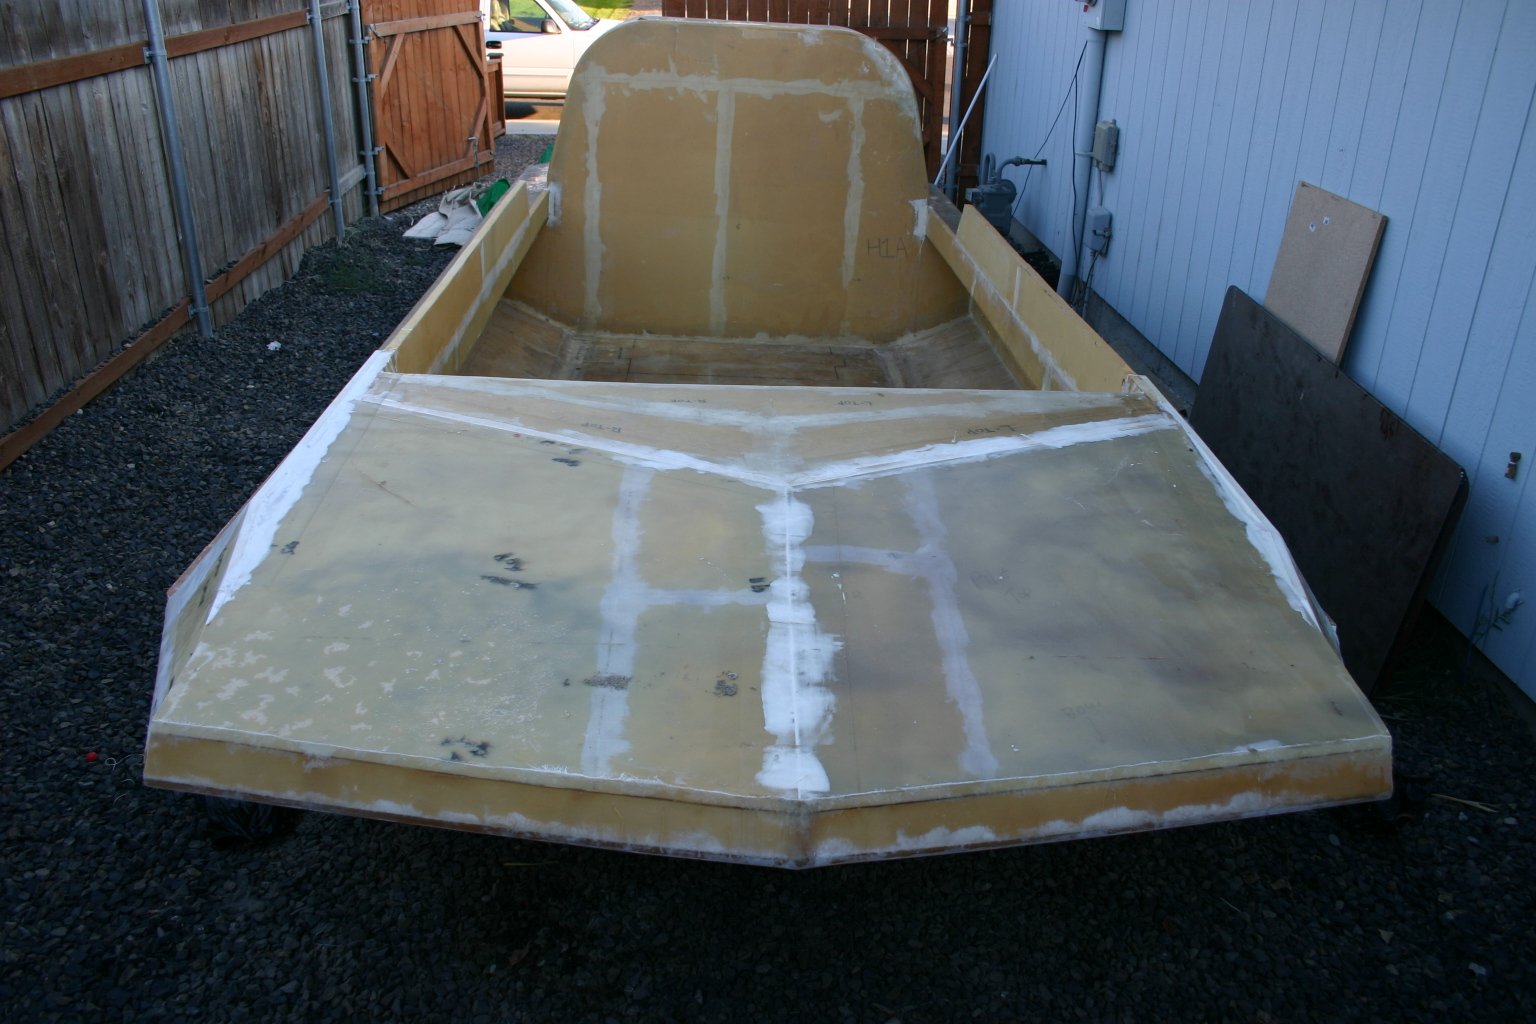
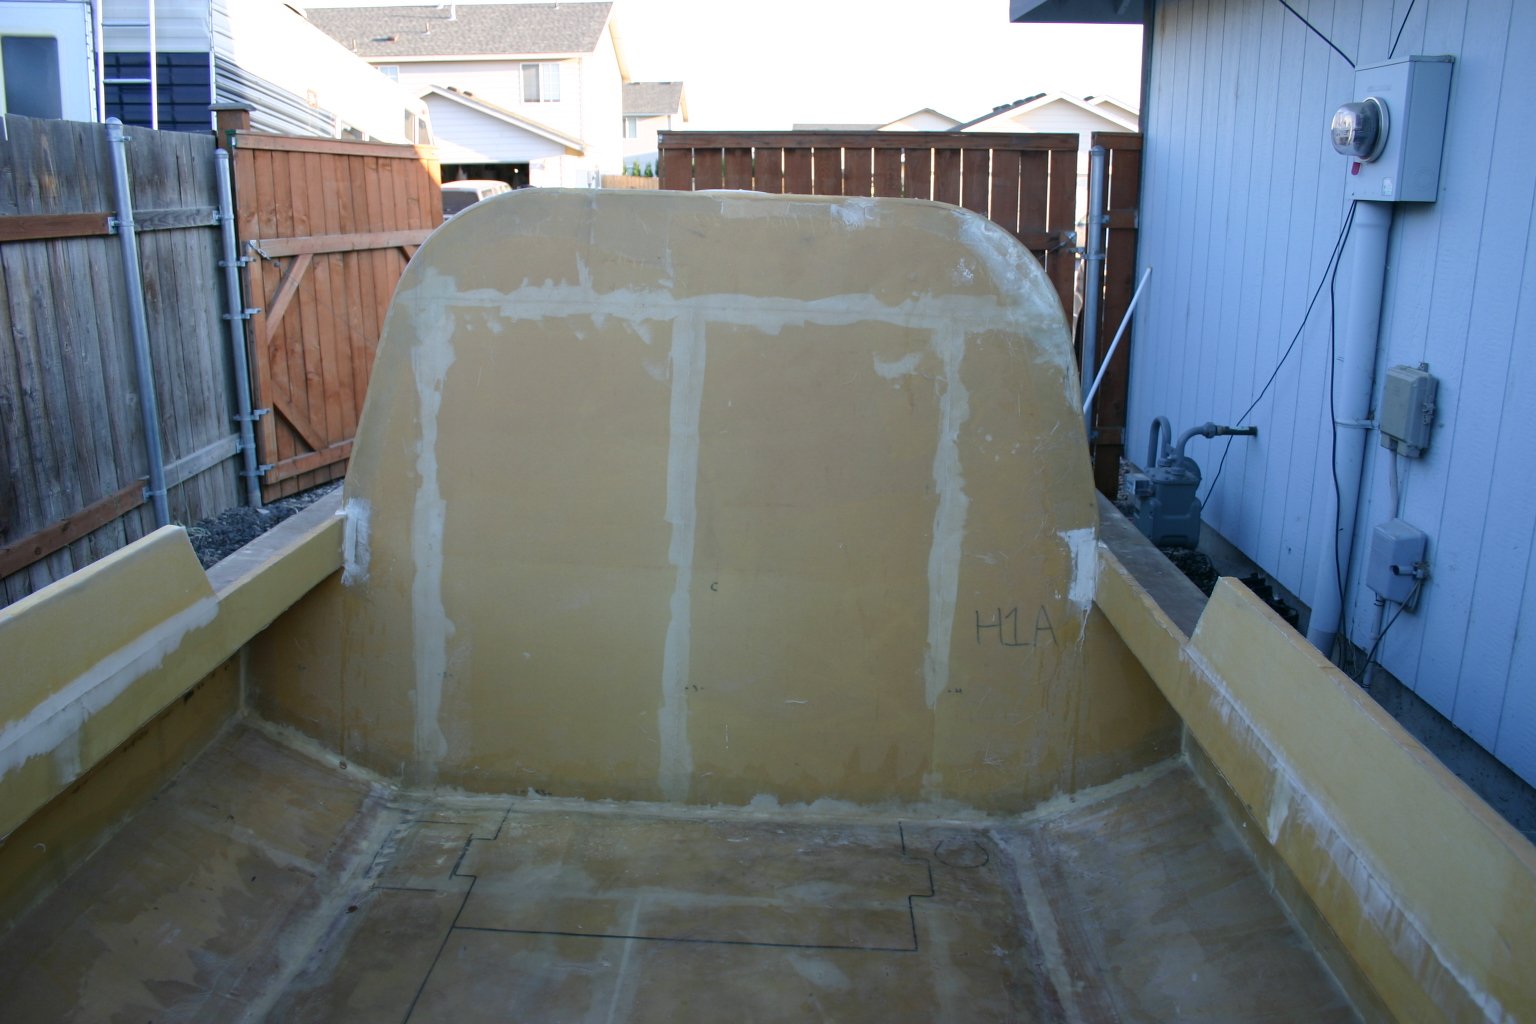
 As you can see, the bow has been changed from the plans. I liked this arrangement better - looks nicer, in my opinion. |
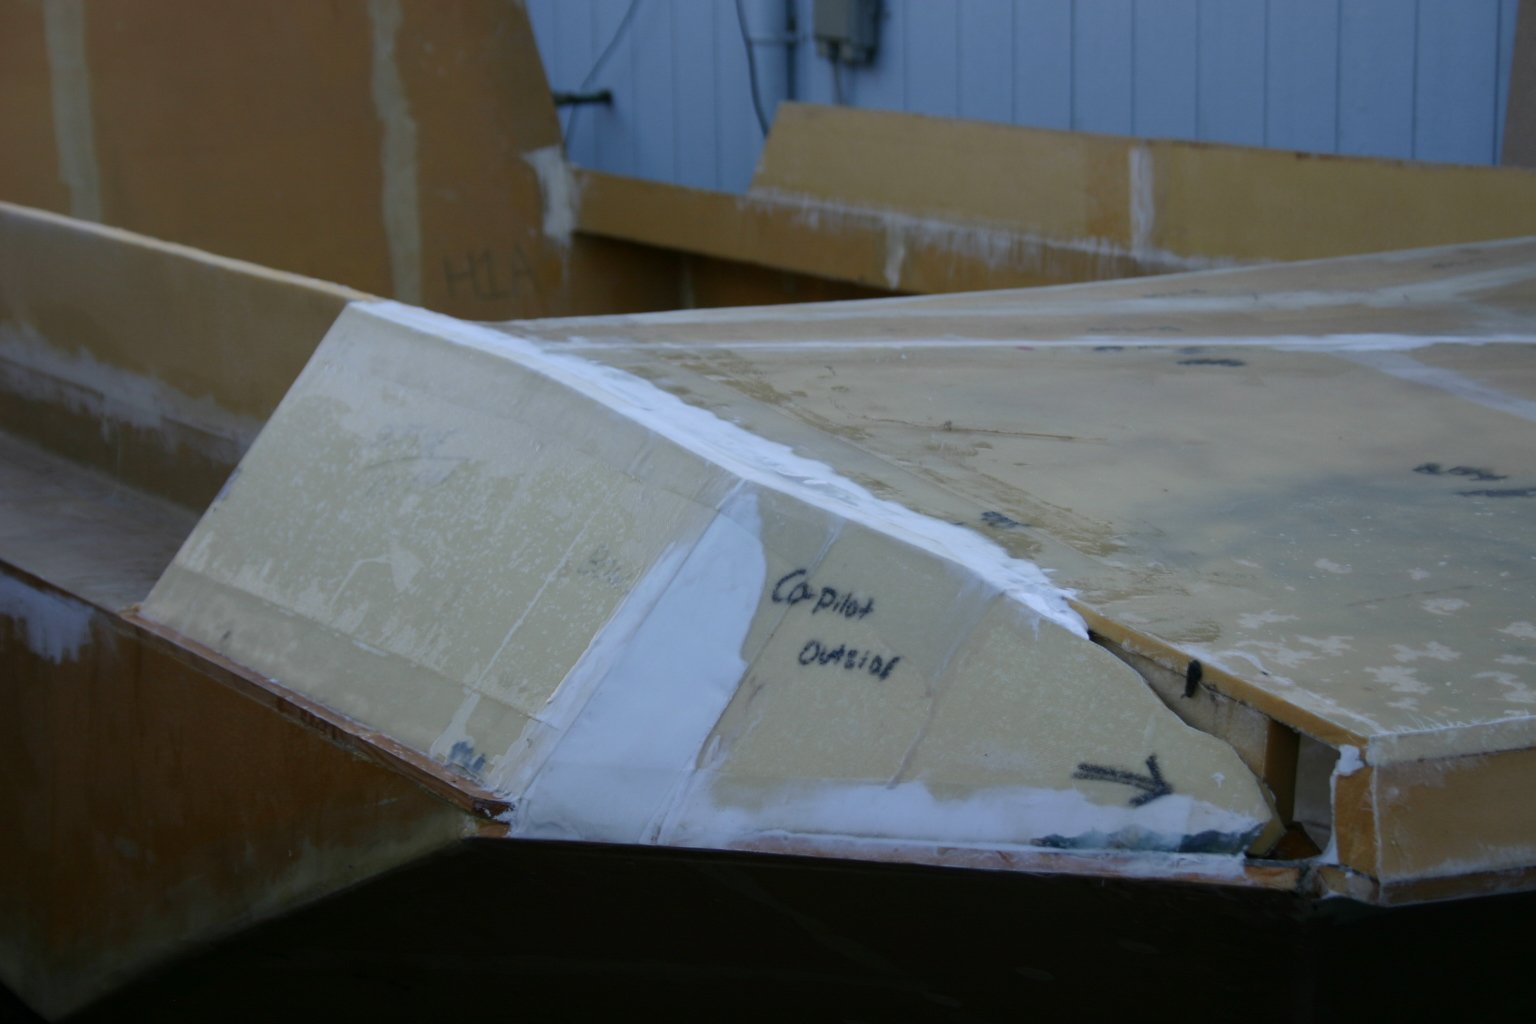 Closeup of not-yet-complete front. This area needs to be glassed over and completed on both sides. Or, if you don't like the bow look, cut this glass out and install decking here as per the plans. |
 |
 |
 |
 |
 Windshield mount is the second white "V" (closest to the photographer in this picture). This is 1" foam that extends down a few inches. To mount a windshield, I planned to router out a few inches of foam and install a channel or bracket, bonded to the hull with microballoons and fiberglass. |
 Closeup of windshield mount area. |
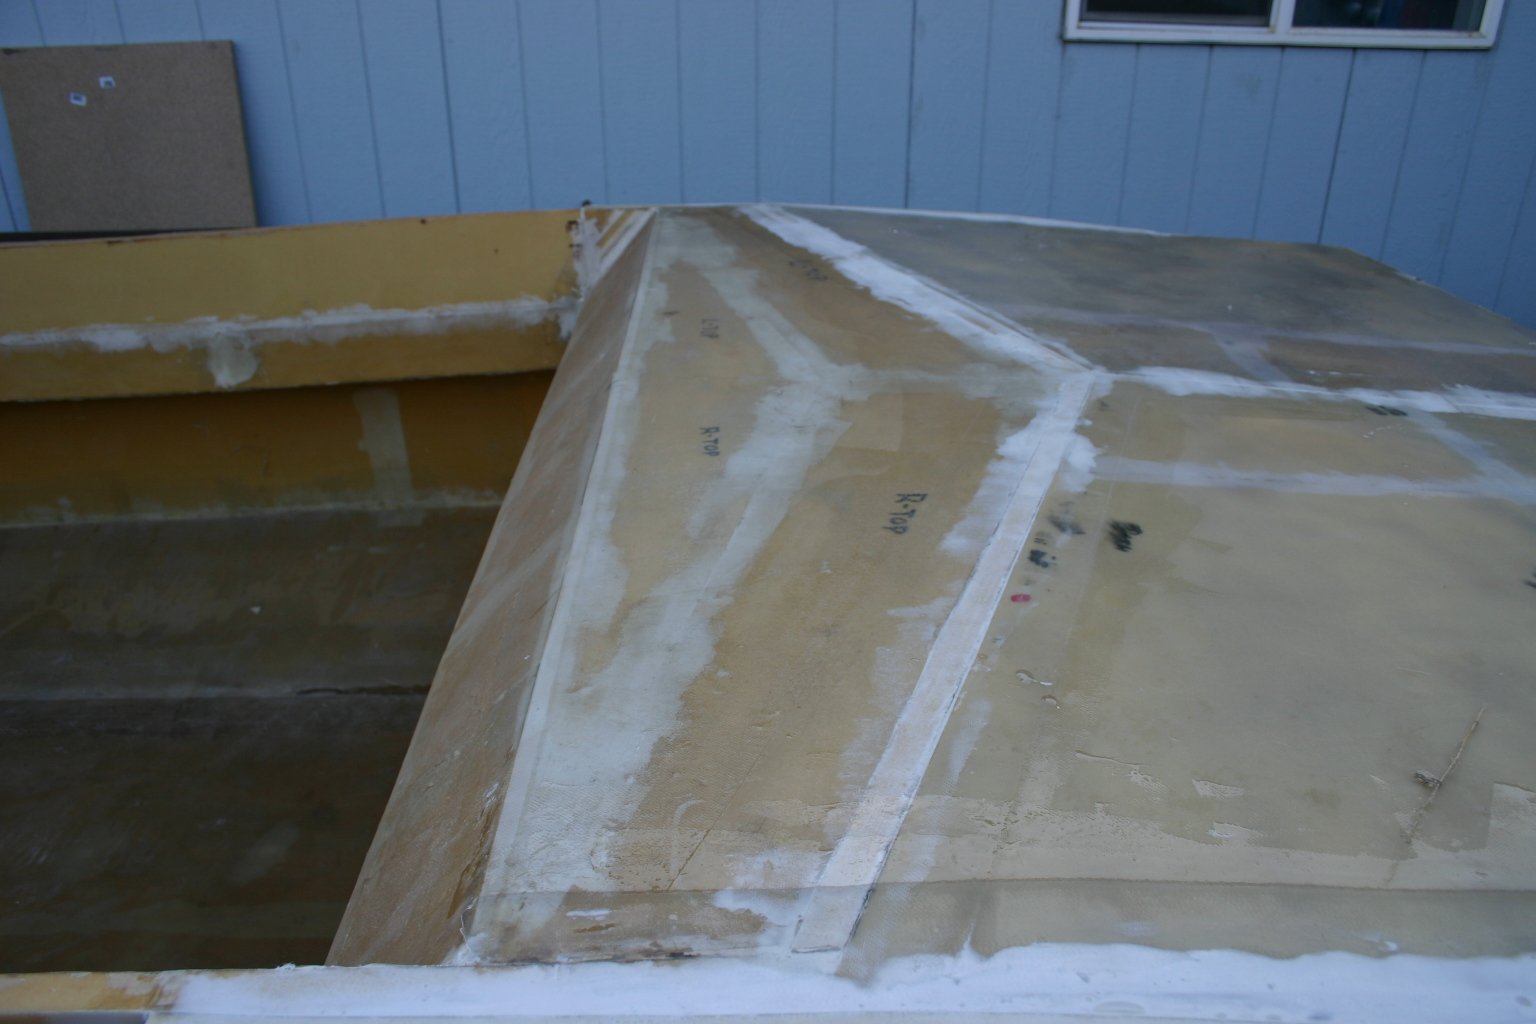
 Looking toward the front of the craft, you can see a gaping hole in the edge of the slanted side deck piece. I had intended to run this slant all the way down the craft and taper it off where the windshield mount ends near the rear of the passenger area. |
 |
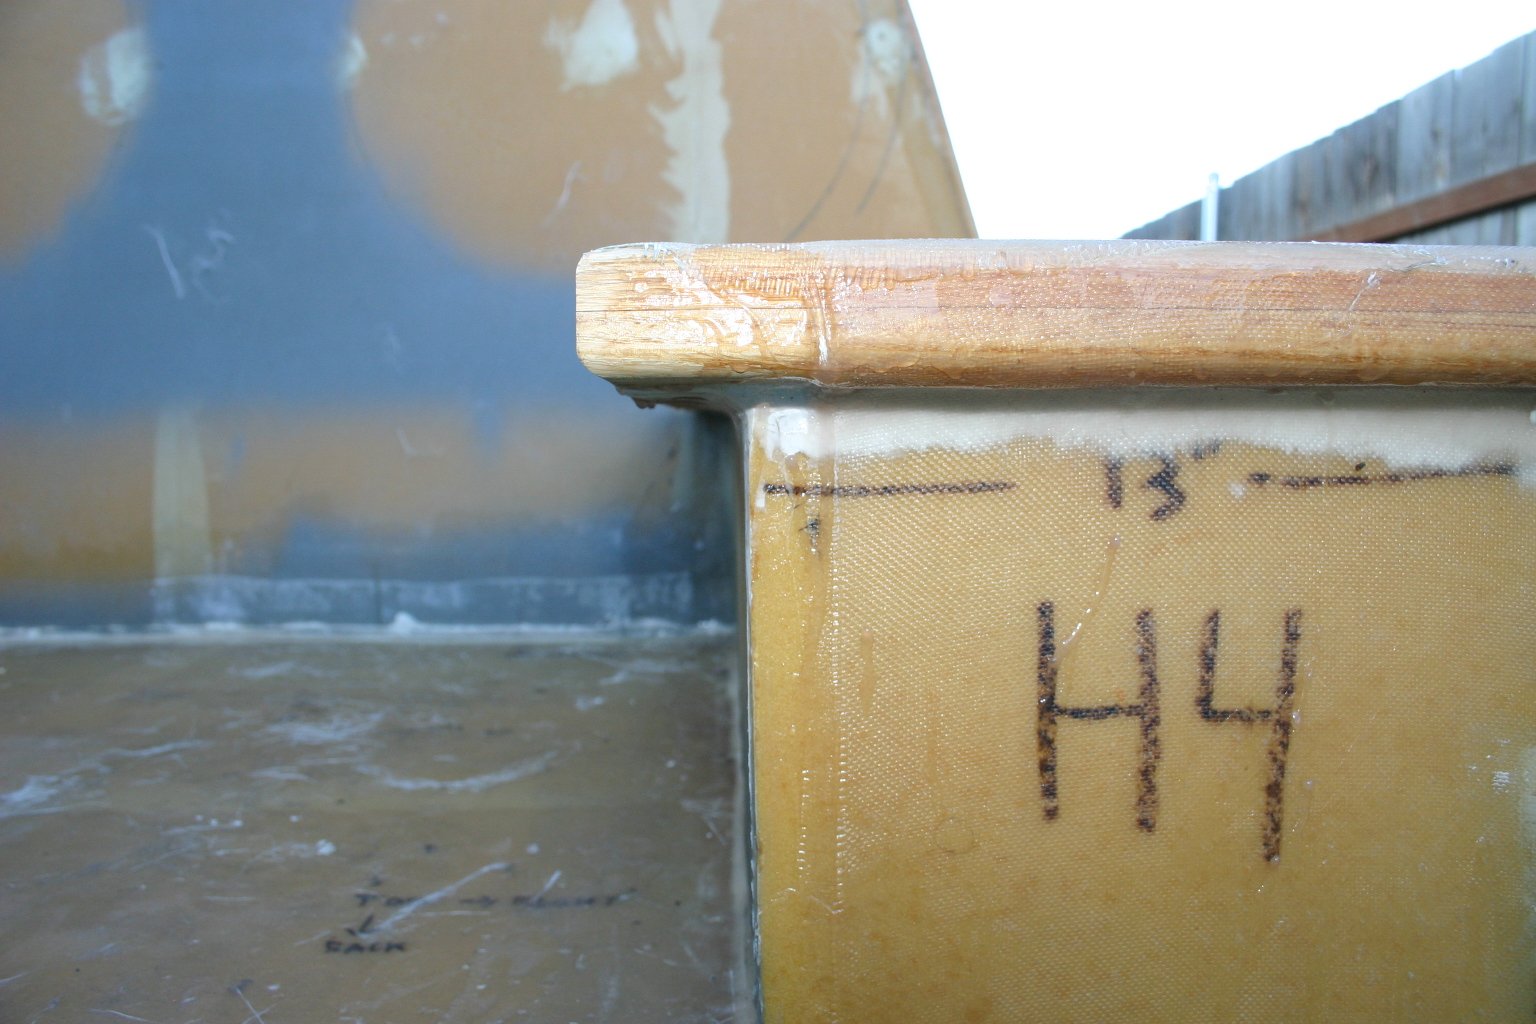
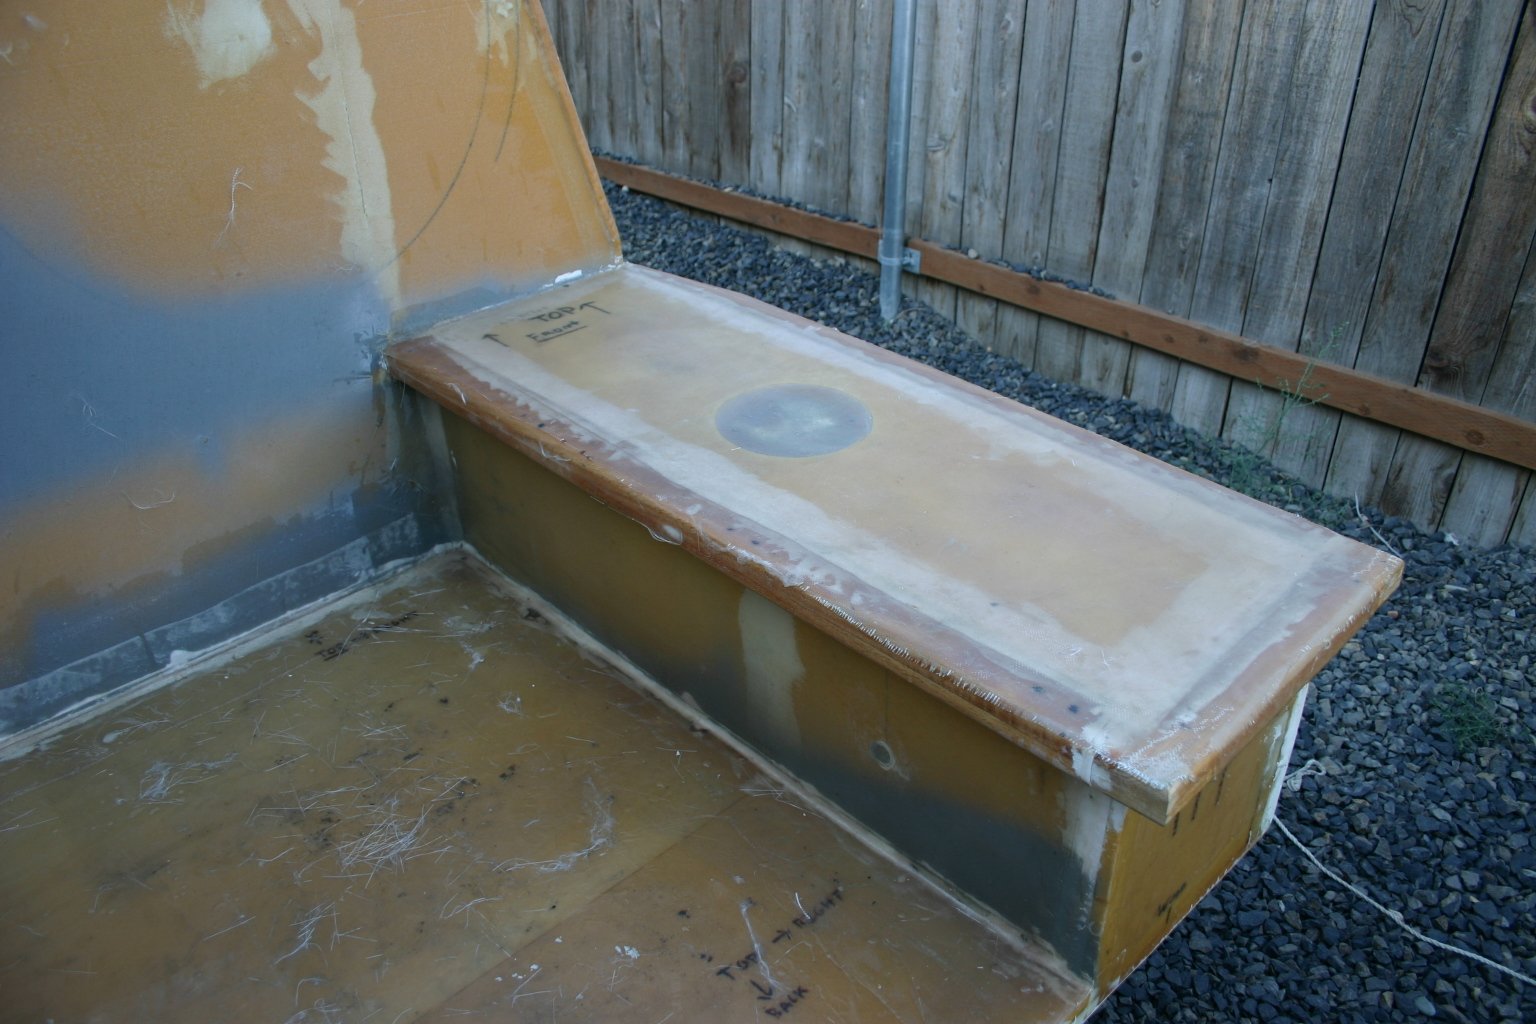 The mounting areas here are made out of solid oak. |
 |
 |
 |
 |
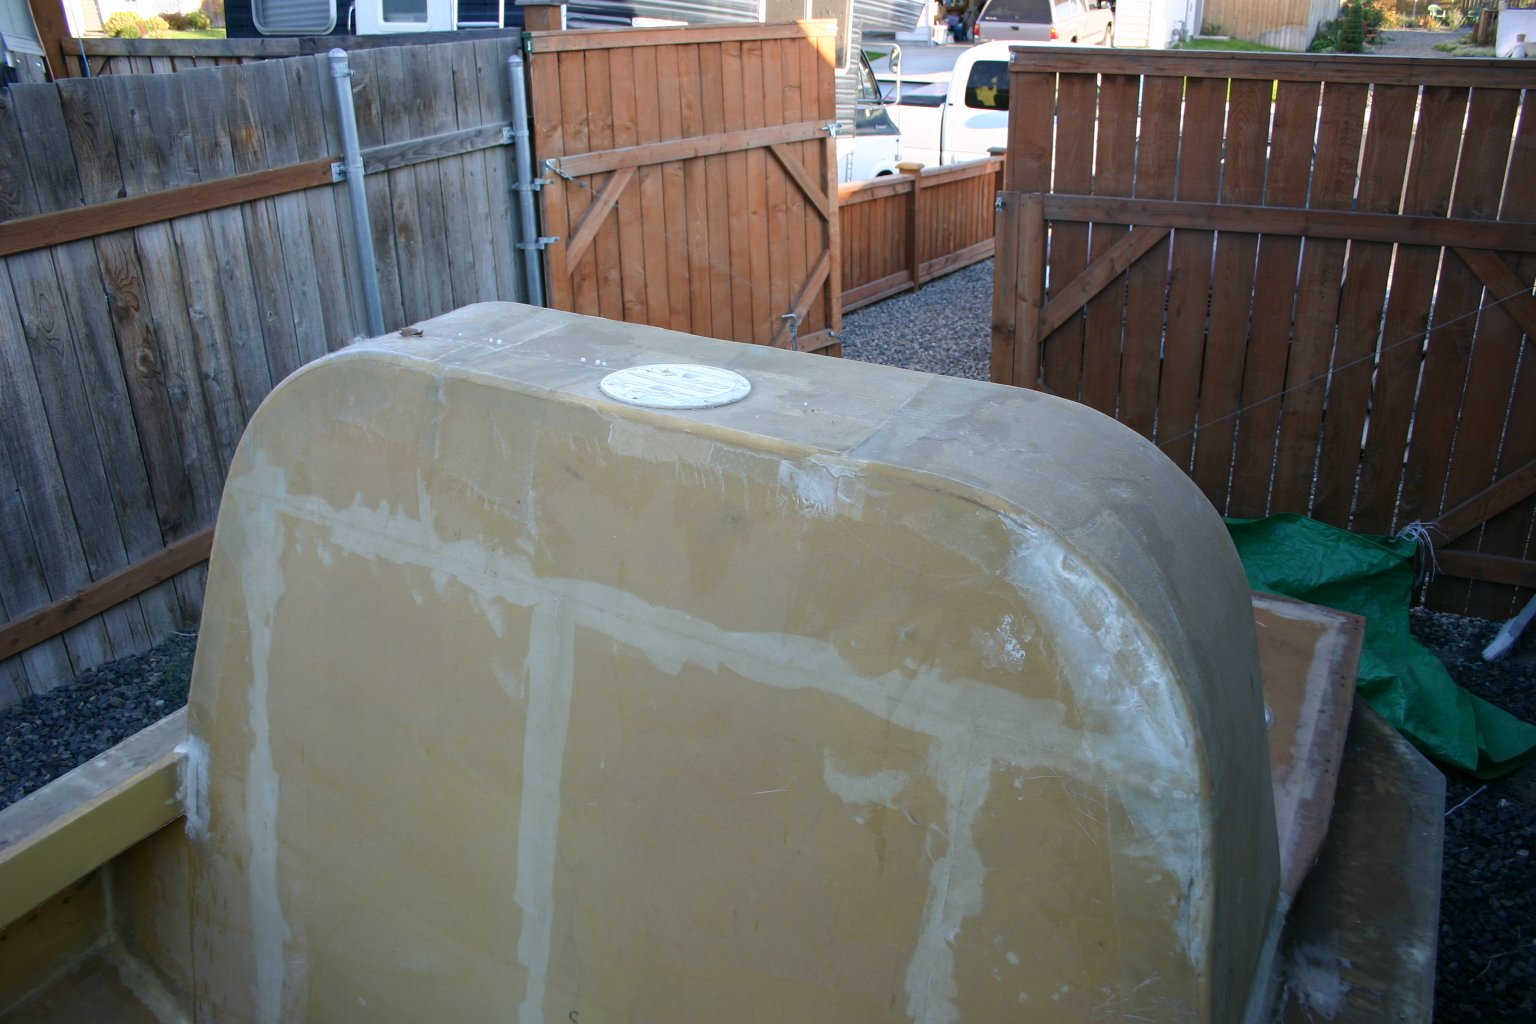 One note: When I had the hull upside down, the pressure on the white access hatch here apparently pushed down on the center of the upper fan bay area. This area may need to be repaired. Also, the edges of the fan bay will need to be rounded better and glassed. |
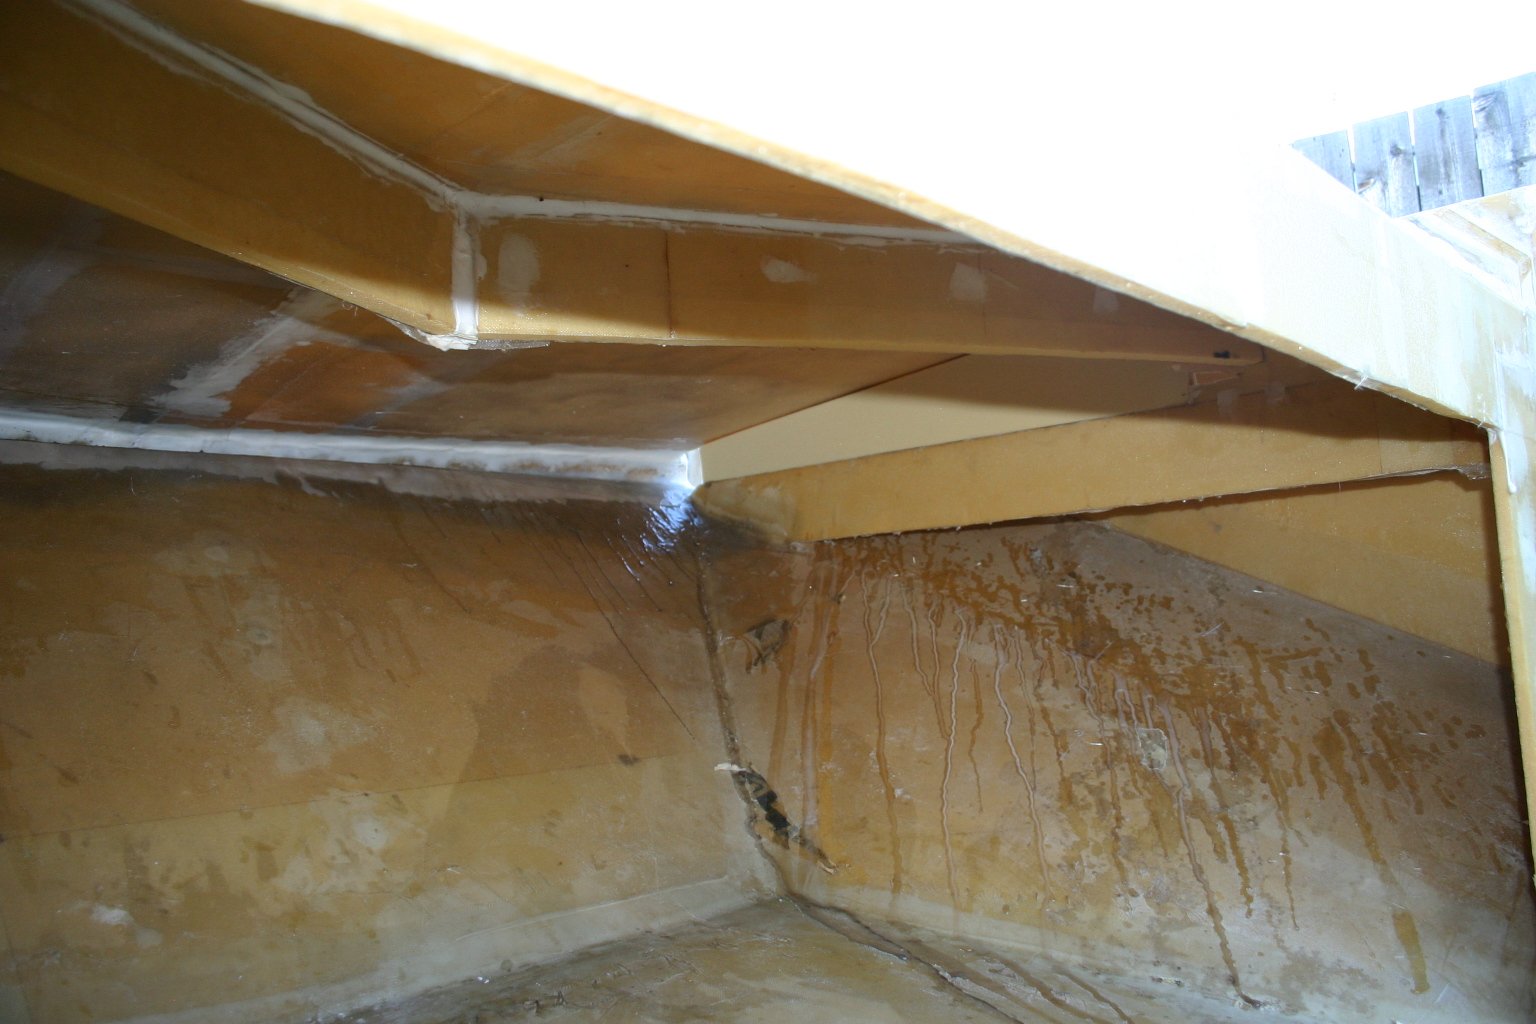
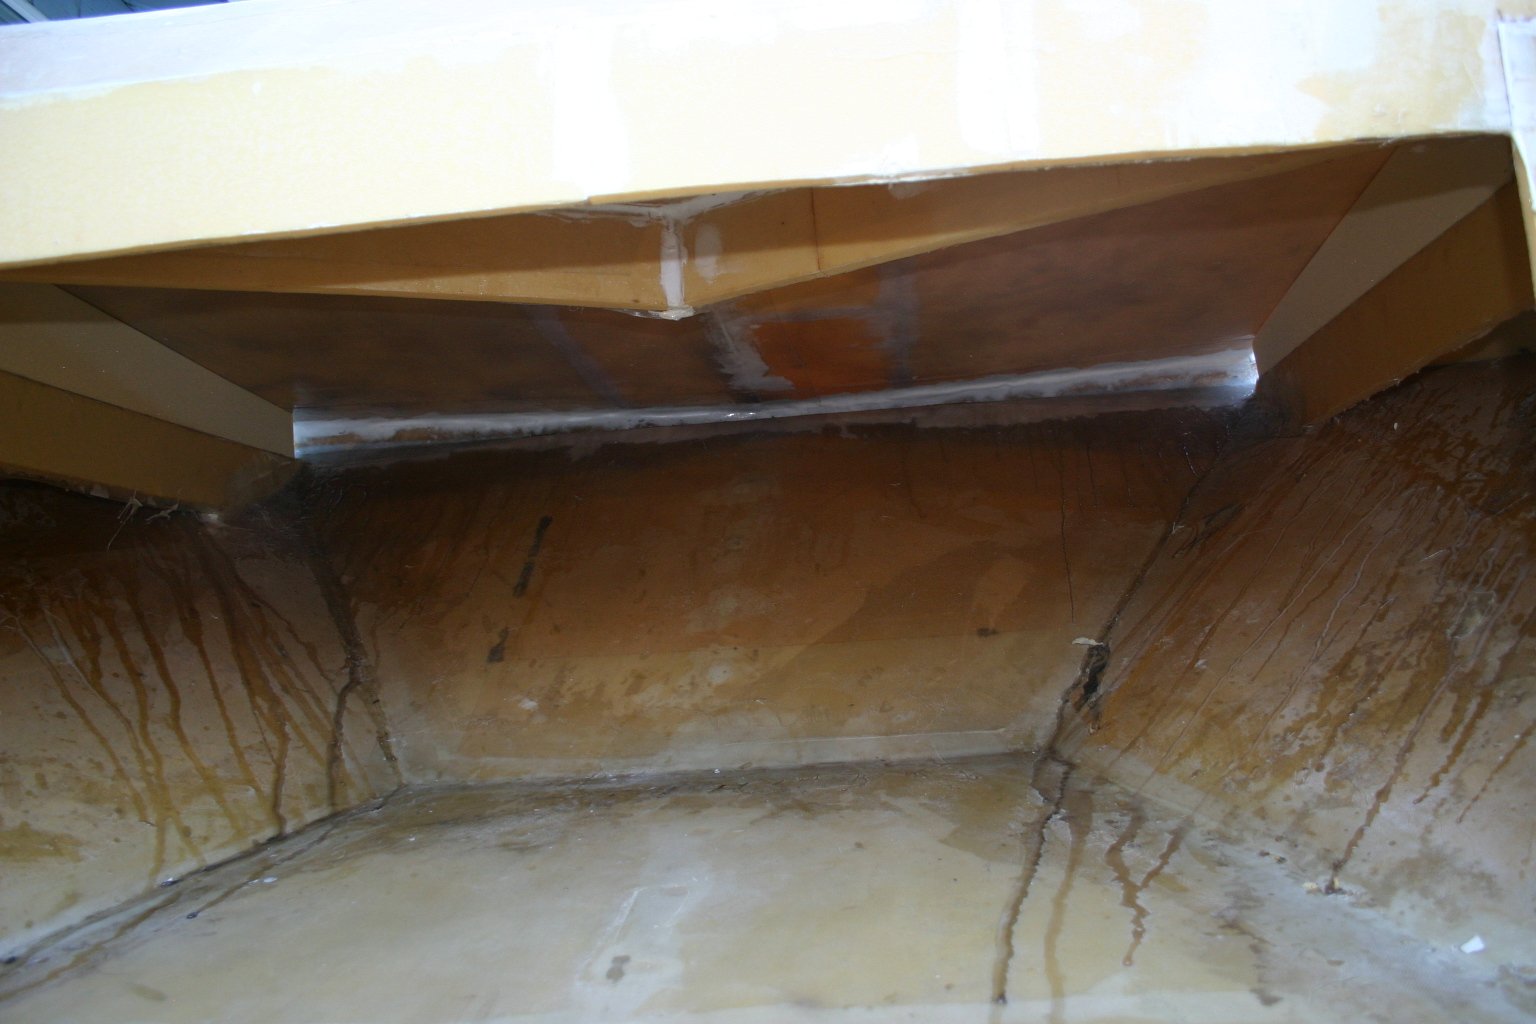 Underneath the bow. Note the fiberglass runs - glassing while laying upside down is hard! You end up getting resin everywhere. Most of the excess was wiped before it hardened, but it left these streaks. :) No biggie; whatever finish you apply to seal the hull from water will cover it. Also notce the two interior deck support pieces that are not glassed on this side. (They have been glassed on the other side, which is now inaccessible due to the sloped panels on the outer edge of the bow). |
 |
 | |